Foundations of microblading

In this article, I will share my top 4 technical skills that every artist must execute flawlessly in order to get the best healed results. Master these crucial technical skills to build muscle memory and consistently achieve the best results with each and every one of your clients.
- Stretch
Hands down, the most important factor in getting great results is making great stretches in the skin. A good stretch forces the skin to be smooth and flat so you can make a clean deposit. Loose skin will result in patchy and wobbly lines. Imagine trying to draw a detailed picture on a crumpled piece of paper. Then contrast that with drawing on a crisp flat sheet of paper. It makes a world of difference.
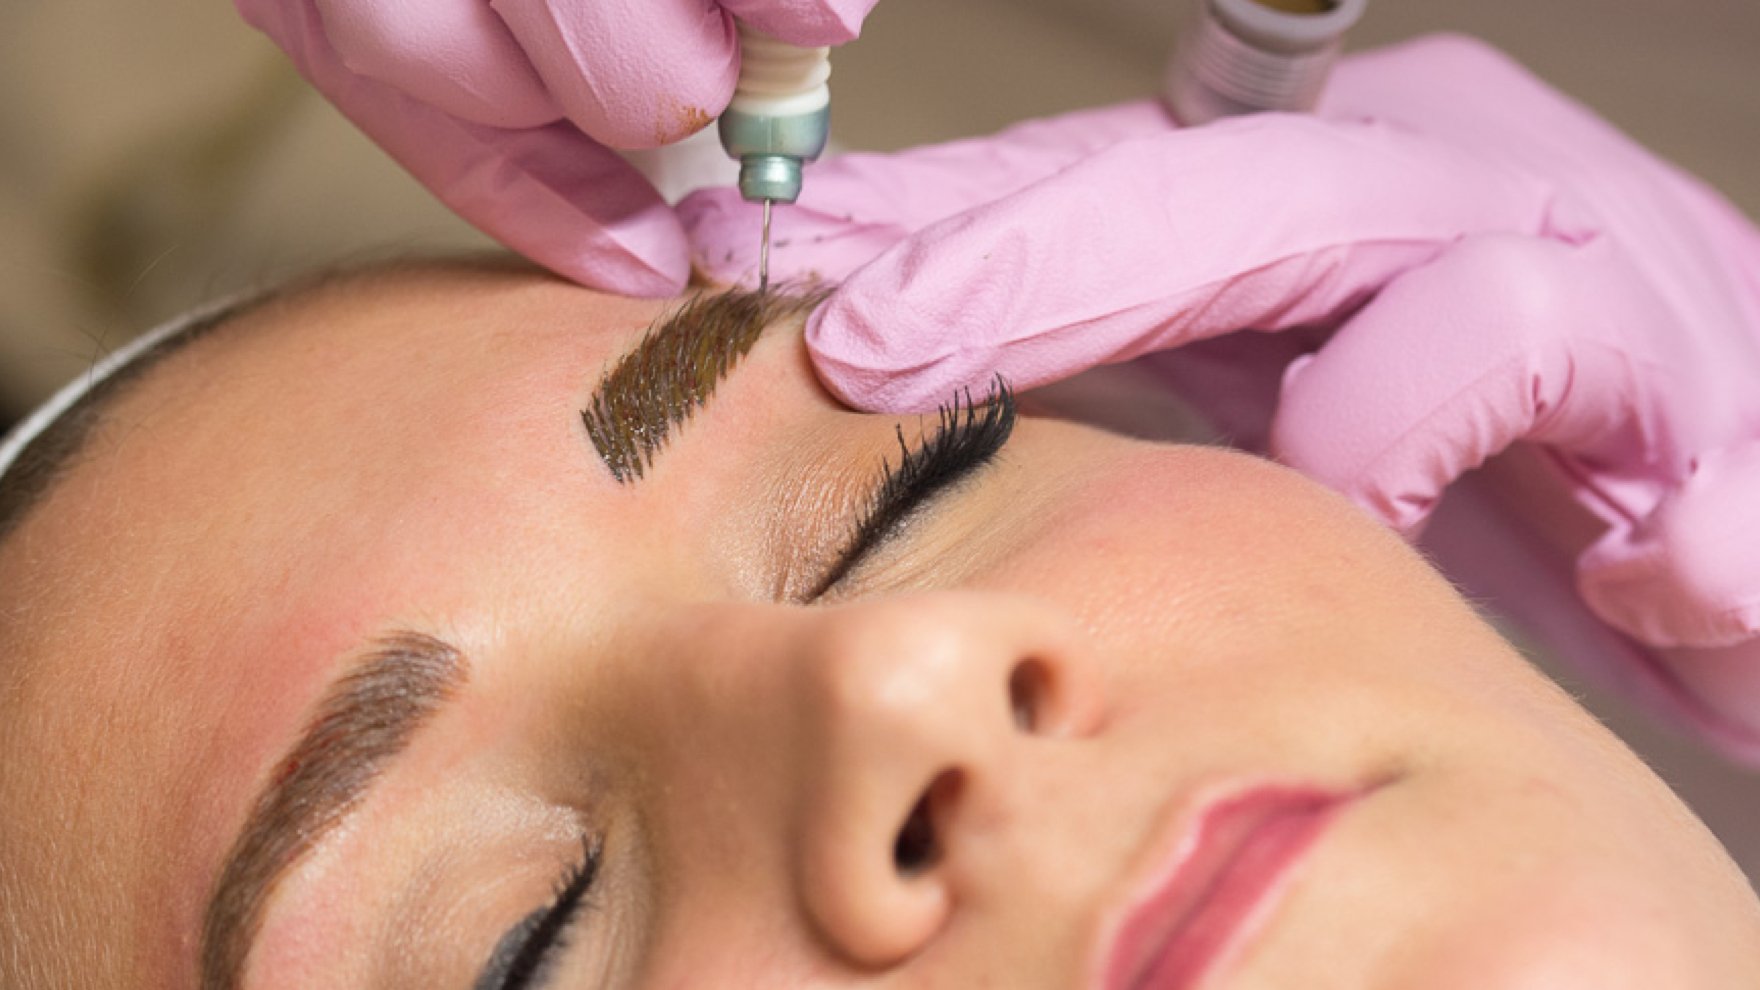
The key to getting a proper stretch is to flatten the skin in 3 opposing directions. This is called a 3-point stretch. The stretching hand (the hand without the tool) should be placed strategically along the client’s forehead to pin the skin down and spread it apart in small, taut stretches. This forms 2 of the 3 points. Now, at the same time, the pinky of the working hand must stretch in an opposing direction to complete the 3-point stretch. Remember, when the skin is flat and void of wrinkles, the strokes will be clean. Watch the video here.
3-point stretch with 3 fingers stretching the skin in opposing directions.
- Angle
The biggest mistake I see people make is microblading at an incorrect needle angle. Artists must pay close attention to the angle the blade enters the skin. The needle MUST enter in an upright position and NOT at an angle. If you look at the side profile of a high quality microblading hair stroke, you will see that the needle penetrates the skin at a 90 degree angle with full contact of all needles touching the skin. Imagine trying to cut a piece of paper with your scissors at an angle - it’s not very effective. Microblading is similar. If you are not penetrating the skin at a perpendicular angle, the quality of the stroke will be compromised and the hairstrokes will be fuzzy.
 The needle is upright and making full contact with skin (14 Curved needle shown here).
Gaining proficiency at microblading requires a tremendous commitment to proper form, consistency and detail, and by repetitive practice, you will build the required muscle memory.
- Depth
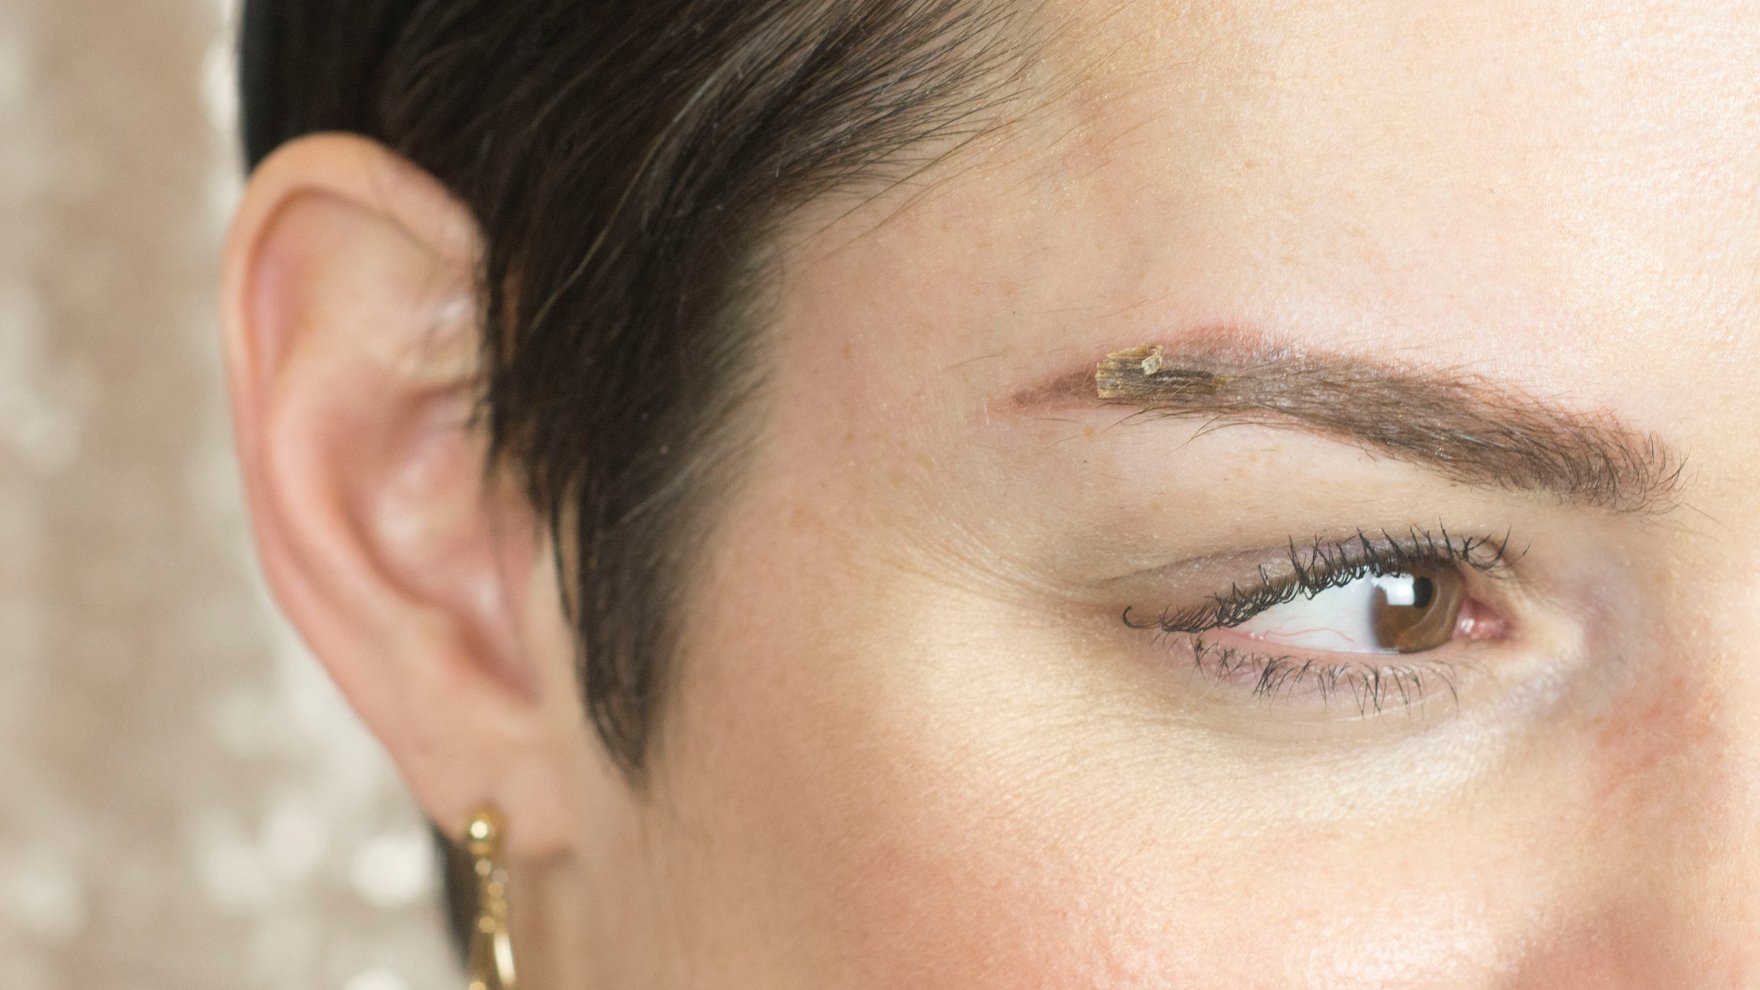
The most common question I get asked by artists is about depth. Depth is critical because if you go too shallow, you will only land in the epidermis and the color won’t stay. If you go too deep, you can cause scarring and the color will heal too ashy. So, how do you figure out the perfect depth? The truth is, it’s very tricky since every client has a different skin thickness, and often the skin will be much thinner at the tail of the brows than at the bulb of the brow. In order for the color to stay, you’ll need to microblade to the upper dermis, but not further. A tell tale sign that you’ve hit the upper dermis or the “sweet spot” is when you see a slight channel in the skin, oftentimes marked by pinpoint bleeding. When I am microblading, I will make my first stroke in the skin with very light pressure to “test” the skin, this will allow me to test the thinness or thickness of the skin. Next, I will trace it again to until I I see that I reached the sweet spot. You may have to stroke many times to reach the sweet spot but at least you know now what to look for. Always be aware to adjust your pressure so you don’t go too deep.
With observation and practice, you will start to notice the tolerance level of each person’s skin and understand it’s breaking point. Less trauma = better results.
 Sweet spot shown here with pin-point bleeding.
I talk a lot about microblading to the proper depth and how it relates to the thickness of the client’s skin. See my other article HERE about the egg, grape, apple, and orange skin comparison to find out more.
- PACE
In microblading, the tortoise always beats the hare. It’s very important to use a slow, steady, and consistent pace. Not only should you concentrate on making each stroke slowly, you should be acutely aware of the pace of the entire procedure. Don’t get caught up in a speed trap and accelerate your work as you progress, or your results will suffer. With each case, you will encounter challenges like bleeding, lax skin, or thick patches of hair, and the best way to deal with these challenges is to work at a slow, consistent pace. When you work slowly, you will work with more precision and overcome these types of obstacles. Focus on making each stroke count. Remember, slow and steady wins the race!
I’m confident that mastering these 4 important techniques will make your microblading better and more beautiful. Take your time, focus on the technical aspects, and practice, practice, practice. In time, you’ll find that your results will reflect all of the hard work and effort that you’ve put in!
1 comment
Me as a very beginner have been practicing my strokes on foam paper and some on latex but my teacher wants me to stay on foam paper to which i hate because I can’t see where the needle lands (because of the ink even if I do just dip very little) and makes my strokes look awful
Elsie
Leave a comment
This site is protected by hCaptcha and the hCaptcha Privacy Policy and Terms of Service apply.