Lip Blush Healing Day by Day
Watch Laura's Lip Blush Healing Day by Day Journey
Nearly a year ago I first began hearing about the Lip Blush technique. However, when I thought of tattooing lips, I thought of how it used to be. Not something I would ever be interested in. But I got to know this procedure and how gorgeous the results were - not to mention much more natural-looking for a boost of color.
When Tina first started speaking about her lip pigments, I immediately knew I wanted in on this and this modern technique. After many months of anxiously awaiting, I finally got them done!
Let me begin by telling you, I have fairly pale lips, my vermilion border is not defined, nor do I have any form of a ridge to define the edge of my lips. I have a makeup background and filling in my lips was the bane of my existence. I even had another seasoned makeup artist put lip liner and lipstick on me to which she said: “Your lips are the worst to put lipstick on because I cannot tell what your lip line actually is.” She was right. Not only that, despite liking the look of lipsticks, I HATE the maintenance and my tomboy side comes out. I smear it, get it on my teeth, etc. Even though I can wear a full-face of makeup - full coverage complexion, false lashes, etc - I never put lipstick on. This was the answer I never knew I needed until I happened upon it.
BEFORE

Before
I did a lot of homework on various healed results from Perma Blend pigments lip blush procedures. I familiarized myself with the healed results that I desired and what colors were used to achieve them so I could narrow down my color choices within the Envy Lip Pigment Collections to give me the healed results I desired.
I knew almost immediately that Dusty Pink was my dream color. When I do wear lipsticks, I prefer nudes, especially with a mauve tone. We began our consultation by going over the Color Chart and discussing what I wanted and what colors stood out to me. Tina knew exactly what I was looking for and suggested we add a few drops of Wine to Dusty Pink to ensure I got the hint of mauve in my healed outcome.


DAY 1 - IMMEDIATELY AFTER PROCEDURE
Immediately after procedure
Following the procedure, I was given an Aftercare goodie bag to take home with me. This included everything I needed to successfully take care of my lips and achieve the best healed results.
In this bag I received:
- Tina’s Brochure with information on the Studio, what it offers and some information on Tina herself as an artist.
- Tina’s Service Menu listing all the services she offers and their prices.
- Several of Tina’s Business Card’s - why not share with a few friends!!!
- Aftercare Healing Gel, two sachets with one Aftercare Card with easy broken-down steps.
- A clear container to put my Aftercare Healing Gel into.
- Aquatat for additional hydration to apply after my Aftercare Healing Gel or as needed throughout the healing process.
- Gentle unscented soap to wash my lips with.
- 12 Cotton Swabs in a sealed bag to apply my Aftercare Healing Gel with.
Learn more about Tina Davies Aftercare Healing Gel here.
I have a number of tattoo’s, getting your lips done is not like any I’d had before. I tried to go without numbing and successfully did this for the outline. However, I decided I was not as much of a champ as to go without for the rest. Tina frequently reapplied secondary numbing to keep me comfortable, as well as providing me with cold compresses to soothe when it got a bit intense.
Following the procedure, I got up to take my first look in the mirror. I knew my lips were going to be swollen, but I nearly fell over laughing when I saw JUST how swollen they were. I felt like the character from Monsters Inc who had the scream extractor used on him.

For a few hours following the procedure, I continued blotting my lips to remove lymph fluid - this would ensure my lips would not form a thicker scab, as well as icing frequently to keep the swelling down - also because it felt so good in all honesty! Following this, I applied a thin layer of Aftercare Healing Gel on my lips. They began to feel dry and were sticking together so I topped up with a tiny bit of Aquatat to provide some hydration. It was around this time I also took an Advil to assist with the inflammation/pain to bring down the swelling and take the edge off. My lips were feeling sunburned/raw/bruised and quite tight from the swelling. The combination of Advil and Aftercare/Aquatat helped make it more comfortable.
Following the procedure, my lips continued to darken and change. It began to look very red/wine colored. By 5 hours post-procedure, my lips began feeling less tight and swollen, they were still very tender to touch, however.
That evening I followed my aftercare protocol and cleansed my lips with a gentle sulphate-free, fragrance-free soap. After patting dry I applied a thin layer of Aftercare Healing Gel. While washing my lips, I noticed they felt very strange - the sensation in my lips was completely off. After cleansing, I dabbed with a fresh, clean washcloth and it felt smooth as silk despite being textured. At this point, the pigment appeared slightly coral in color.
I finished the night by putting a light coating of AquaTat to keep my lips from feeling dry/tight while sleeping.

DAY 2

Day 2 was definitely an adjustment. One strange thing I noticed was that my lips were tingly and numb feeling, kind of like pins and needles without the pain.
At mid-day the dryness began to set in, I was applying Aquatat frequently to help with the feeling of extreme dryness. The edges were the worst at this point, they felt like badly chapped lips. Again, the color began to shift from a red/coral to deep dusty pink.
By evening my lips had gone down in size and were nearly normal again. Lines began appearing on my lips as they had deflated from their giant size post-procedure.
DAY 3-4

On Day 3, I woke up with my lips feeling extremely dry and tight. At this point, the scab was fully formed and much thicker than it had been on Day 2. This scab was beginning to crack in spots. It would sting in the corner of my mouth if I opened my mouth too wide to eat or yawn, and my lips would split if I moved my mouth too much while speaking or laughing. I was having to press my fingers against my top lip if I was going to laugh just to stop this from happening. It was quite the sight around the office.
I found I was needing more hydration than I had previously. By mid-day, the center of my lips first began lifting in the inner edge. I knew this process would be faster than brows but did not expect just how fast.
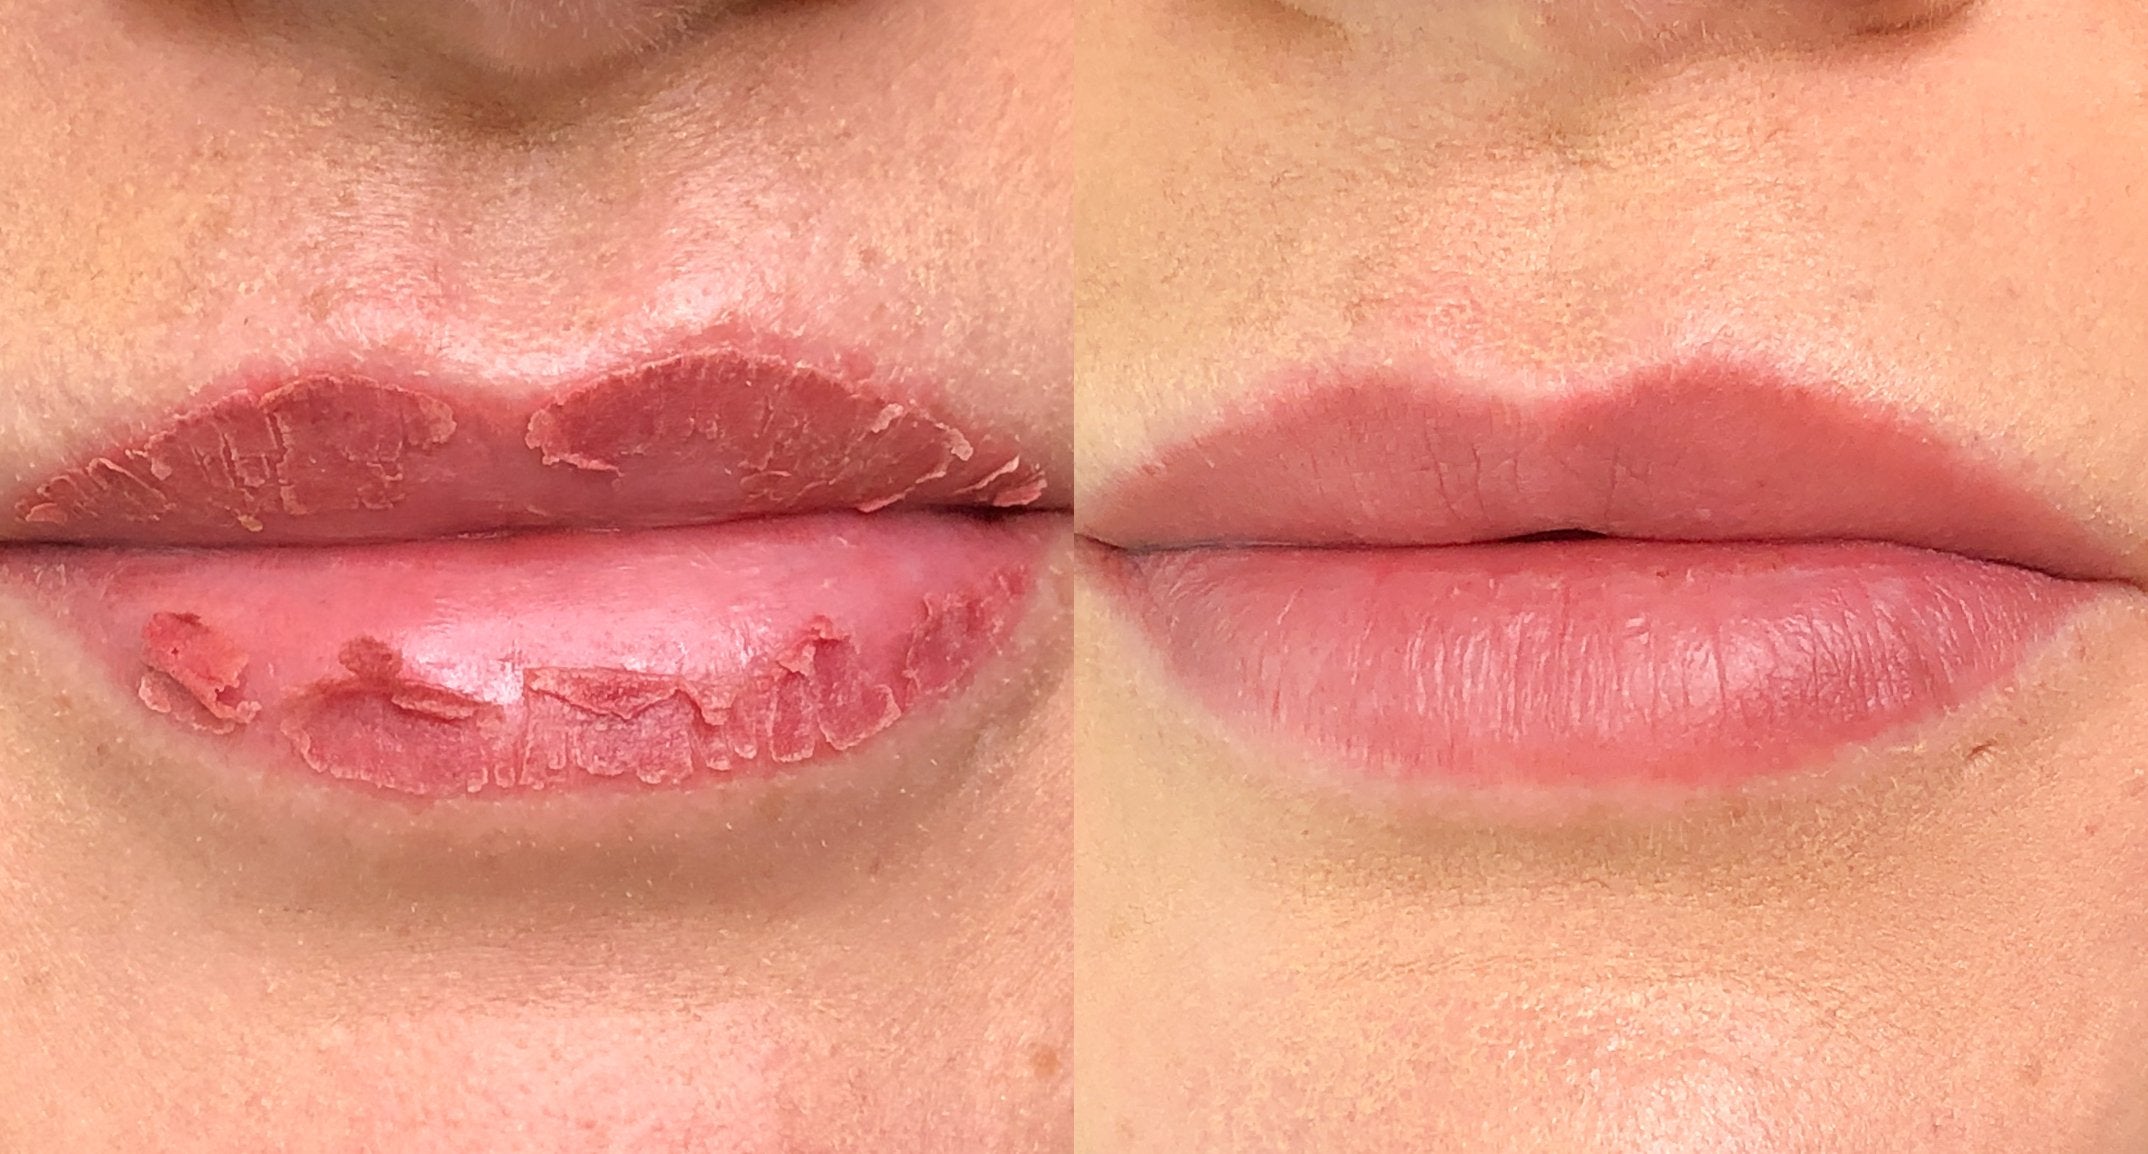
Day 4 is where all the fun stuff happened - it took everything in me NOT to pick at my lips or lick at the lifting areas. I woke up and my scabbing was thick, hard and crusty - great look, right? It gets better! It was not yet peeling but splitting in spots.

As the morning went on, this quickly began to change, they began to lift and peel. By early afternoon ⅓ to ½ had lifted off, but not fully peeled. At one point I had a piece lifting on my lower lip that felt like a snaggle tooth when I’d purse my lips. However, by the end of the workday, only the outer edge remained, nearly everything had peeled - the lower lip peeled much faster than the upper lip. Upside to the grossest day I’ve ever seen my lips have, the color underneath was so natural and absolutely perfect!
A scarf was my best friend on my worst of days when out in public, I’d just hide my chin and lips in it so people didn’t stare at my peeling lips.
DAY 5-7

On Days 5 through 7, my lips were feeling extremely dry - I was constantly putting hydration on, they also went through the second layer of thinner peeling. They were extremely sensitive to touch but not as bad to spice (I accidentally ate something with a mild kick to it).
I continued my aftercare routine I was given on Day 1, however, I also added in hydrating serum with no fragrance to assist with the dryness I was experiencing.
DAY 8-10
On Day 8 my lips were very dry and feeling hard flakey, very different from the thin peeling I had experienced on Day 5-7. The dryness was bad enough I felt like I was going to split my lower lips a few times. I noticed another change in the color, feeling that it had lightened a bit from the previous few days.
Day 10 my lips finally began to feel “normal”. I was still applying hydrating lip balm frequently as they felt quite dryer than normal.

DAY 14-21

By Day 14, the dryness finally began the subside and I felt the color was beginning to “bloom”, settling into a deeper but natural tone. It still had a slight coral tone to it.
Approaching 21 days my lips were finally feeling like they did prior to the procedure and I was able to start wearing glossy lip balms again. It felt amazing waking up, putting on a face of makeup and not have my lips look washed out. I’d add a coating of my favorite lip balm and the color was absolutely GORGEOUS!
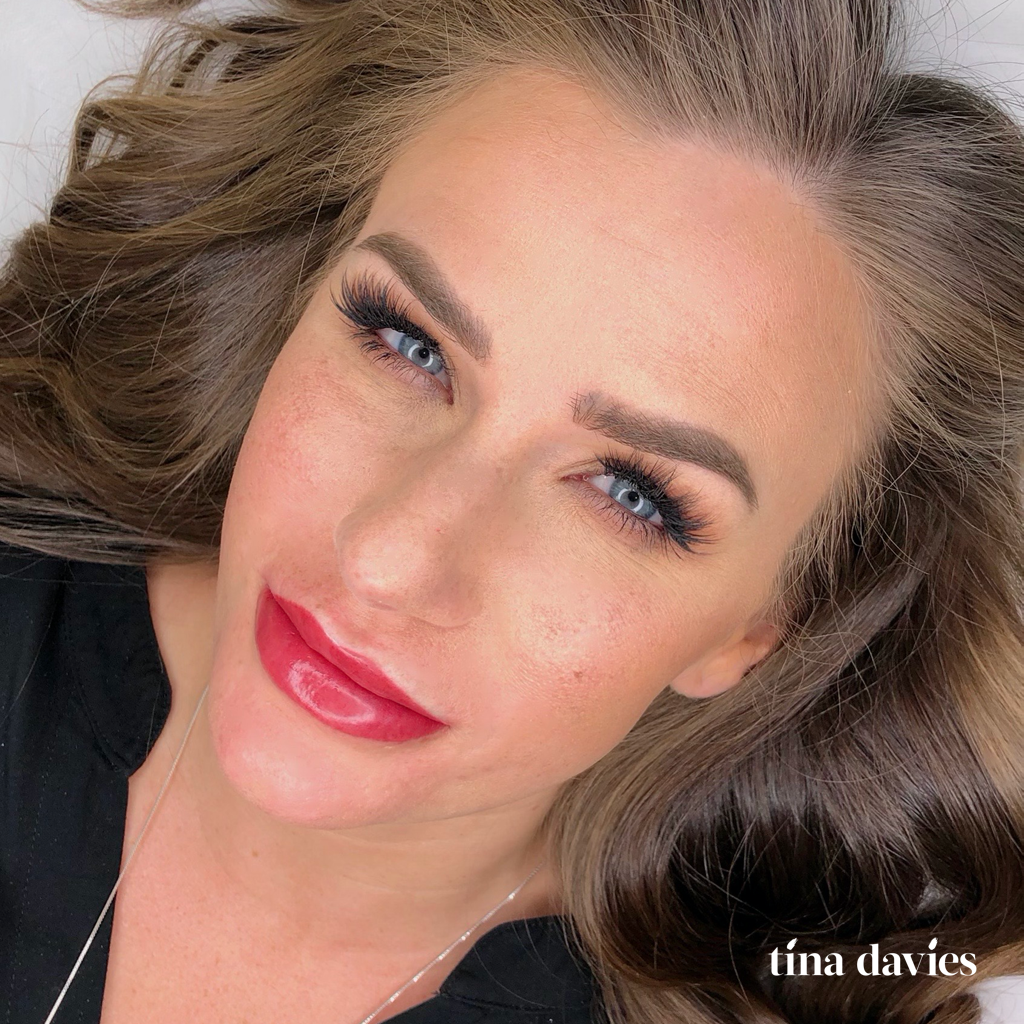
DAY 30

What can I say, I have my dream color 24/7! I love not ever feeling washed out by my lips. They’ve settled into the perfect mauve/nude/pink and exactly what I wanted. The feeling of going out with a full face of makeup, having color to my lips and having to do ZERO touch-up’s is the best feeling!
On the day of the procedure, I know I cursed and swore a few times internally and was thinking I’d never do this again, but let’s be real, 10 out of 10, would do again! I have my dream lips and I never have to pick up a lipstick.

Moral of the story, your lips are going to appear many different colors over these first 30 days and peel like a snake, trust in the process! Follow your aftercare protocol, don’t pick, be patient. I promise it’s all worth it!
Learn more about Lust & Envy Lip Pigment Collections here.
Enjoyed reading about the healing day by day experience and want to read more?
Check out our blogs below:Laura’s Combo Brows Healing Day by Day
Microblading Healing Day by Day
14 comments
Thank you so very much! I am on day 2 & definitely needed some reassurance!
Maureen Wren
Awesome results. I keep waiting on getting the nerve!!
Someday!!
T
Theresa Phillips
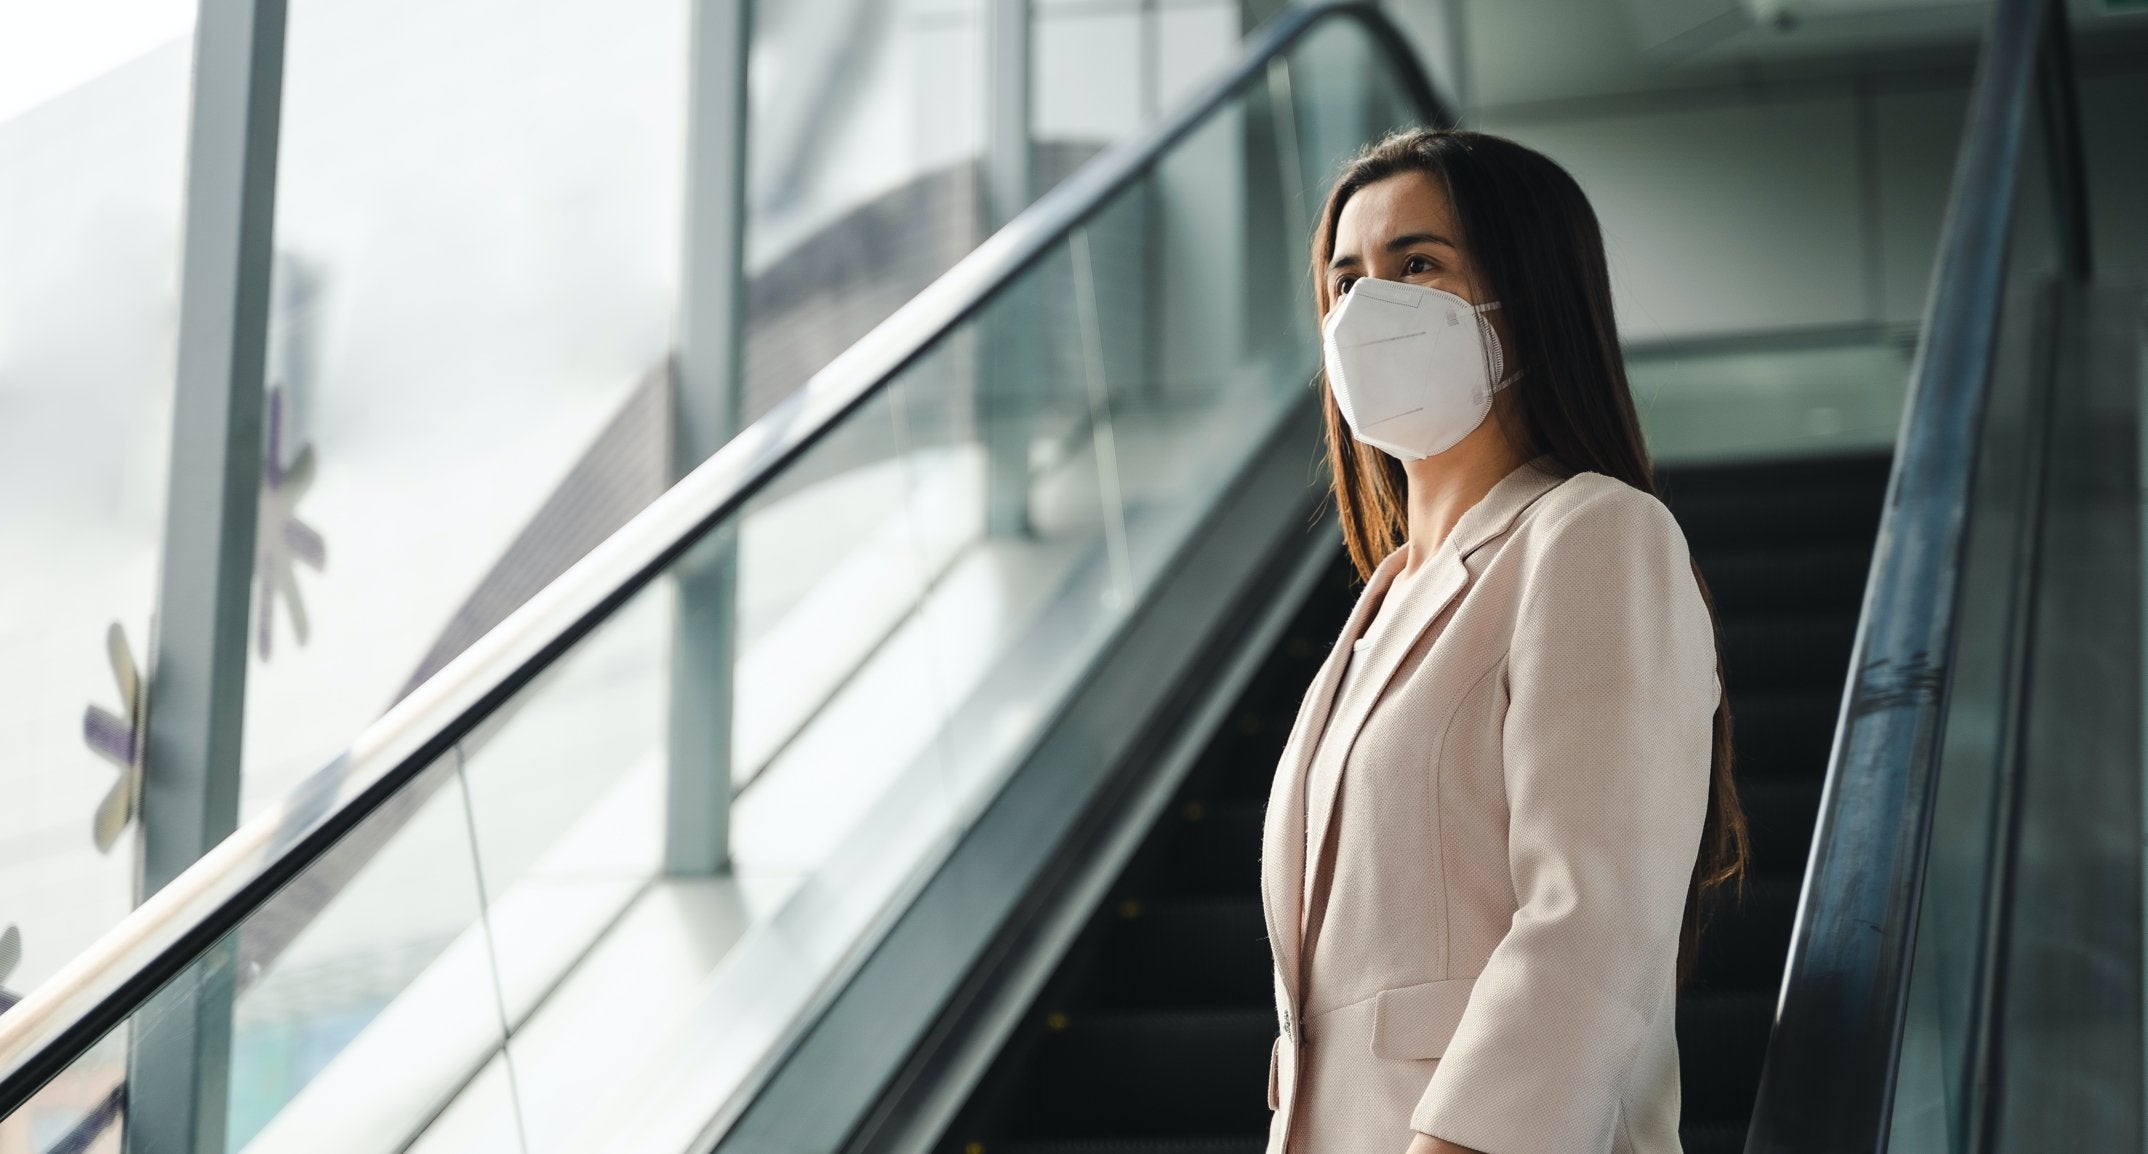
I am on Day 2. Grateful to read this & see the progression of the healing process. I am hopeful my now huge lips will be smaller & less dark. Meanwhile, I’m wearing a mask & isolating!
Vbee
Hai , thank you for this I done yesterday I felt I done a mistake it’s hard after reading your post thank you for same
Aarthi
Great insight into the lip blush healing journey! Detailed day-by-day experience and helpful aftercare tips for flawless results.
Ocean Tattoos
Great information on the lip tattooing as I’ve just had mine done wish I read this first as I’ve gone through all those steps with my lips
Lips are very dry need lots of moisturiser hydration plus plus Panadol and Nurofen is the key to comfort
I’m now day 16 lips are dry all the time Dermal lip balm ultra moisturising has work well for me . I do love the result of my lips very natural
Carol eivets
Oh my goodness! This is the most in detail blog about blushing I’ve read!! I’m on day 4 and was worried something was wrong, but after reading your story I feel so much better. Thanks for sharing your journey:)
Jenn
Thank you for sharing this. Really helpful, as I just had my lips “blushed” yesterday. This is a great day-by-day to help me stay calm and keep the faith!
Christina
Very helpful in letting me know what to expect! Thanks!!!
Carmen
Amazing
saima
Thank you for sharing your experience. I just had my eyebrows micro bladed and eyes lined and it was amazing. I made my appointment to have my lips done later this month, and I am glad I waited till after an event I am attending. Yours look amazing, and with all things in life and beauty, patience is key!
Kelly
Thanks for sharing the wonderful blog with us. It helps me to better understand that the lip blush healing after some days.
beautiful and healthy
Thank you so much for sharing this. I am on day 4 and experiencing everything you’ve described. It is nice to know what is coming up in the healing process.
Sherri Geerling
Thank you for this information it helped me immensely understand what to expect!!
Eva
Leave a comment
This site is protected by hCaptcha and the hCaptcha Privacy Policy and Terms of Service apply.