How to get ink flow with I LOVE Ink

Here's how to get the perfect microblading pigment drop with I ❤️Ink🙌🏻
Switching to a new line comes with a bit of a learning curve. After hearing from you, our trusted customers, we’re going to guide you so you can get the most out of your pigments and start seeing 90% retention in your work and true, rich, healed colors.
Why It’s Thinner
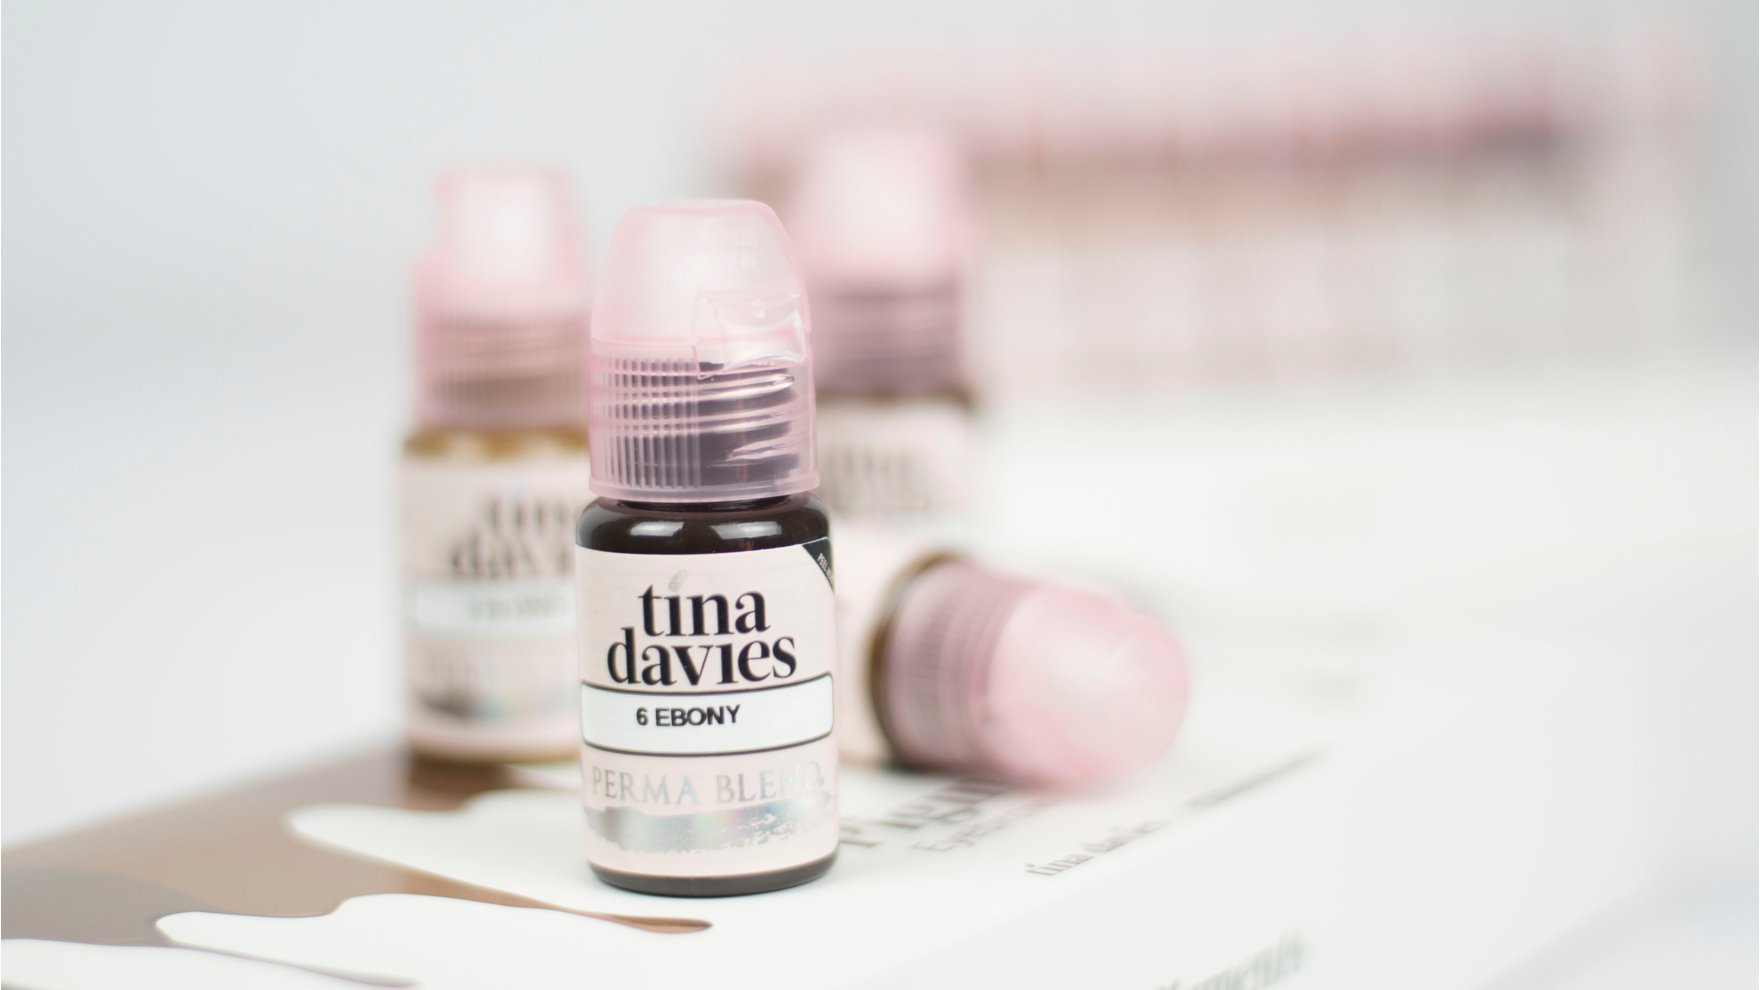
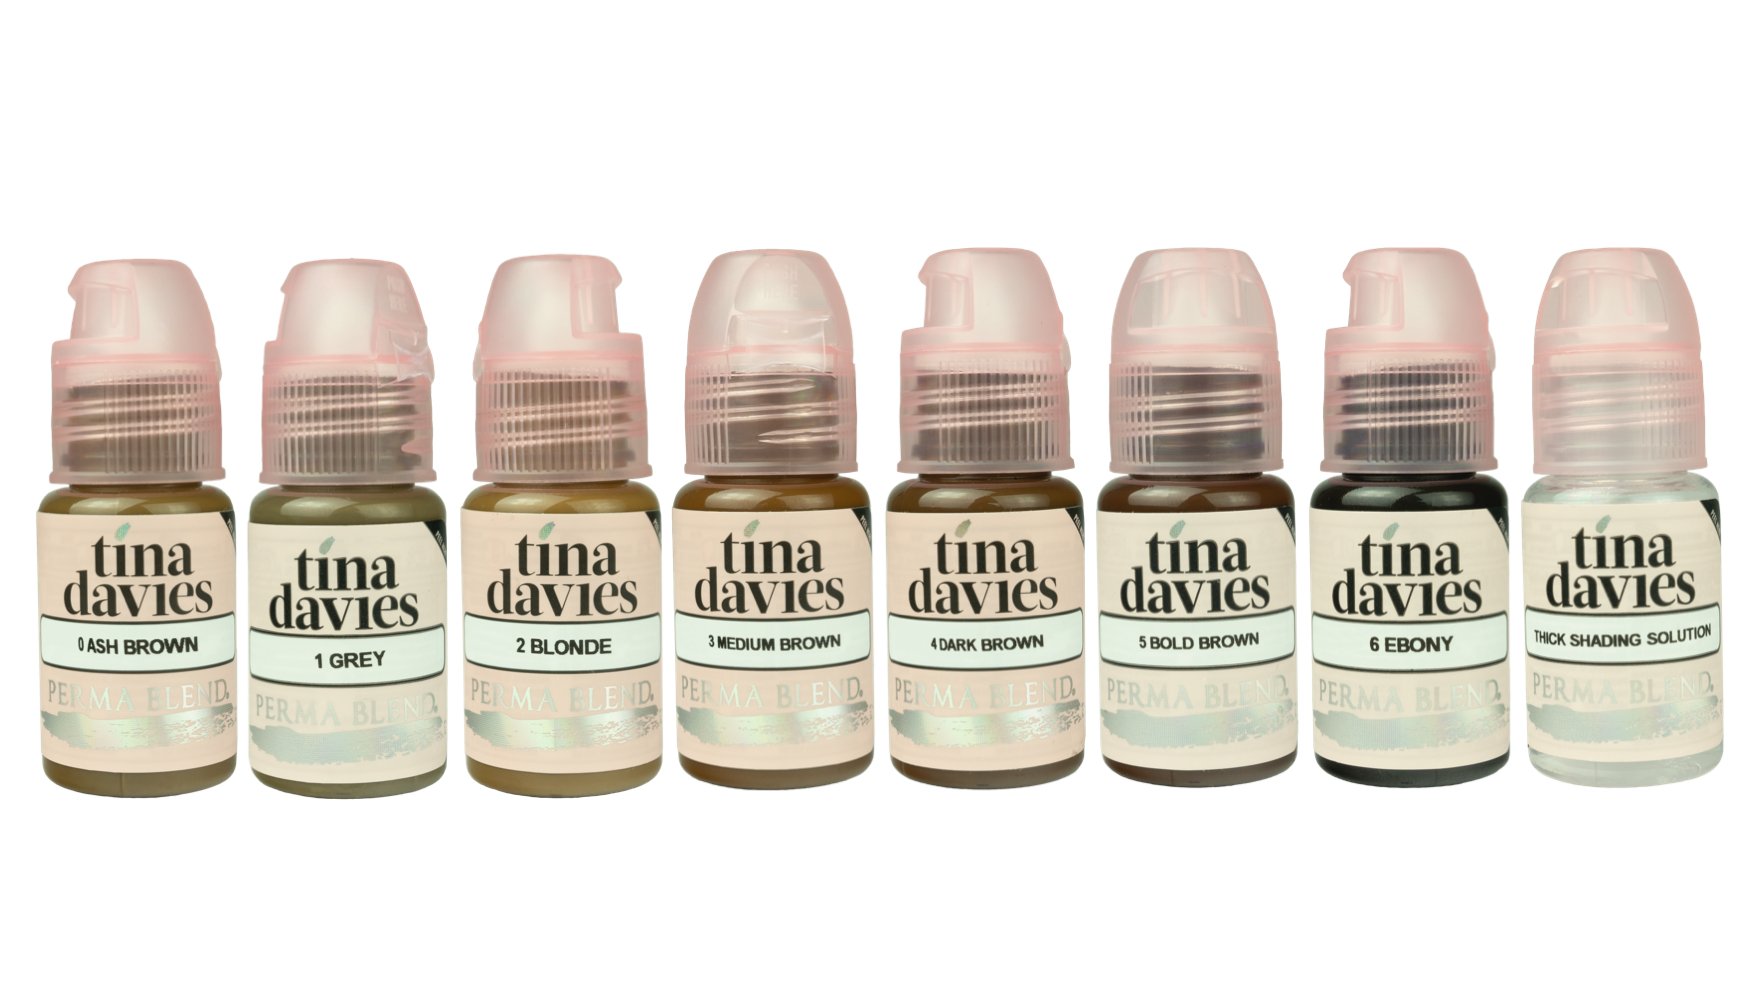
First things first, I LOVE Ink was created with the highest quality ingredients and therefore, does not contain a high amount of “filler” ingredients, such as glycerin, which often make the consistency thicker, but in turn end up watering down the pigment and changing its level of concentration.
Our pigment line mostly contains pure pigment, hence the thinner viscosity. But no worries! Although you’re used to the thicker consistency, we can get you up to speed on effectively using I LOVE Ink whether you are doing machine work or microblading.
How It’s Done - Microblading
Step 1
Dip your needles into the pigment and ensure you have picked up enough pigment to see it visibly on the tip of your blade.

Step 2
Bring the blade to your client’s skin and gently “press and tap” the tip of the needles into the skin. This will not be enough pressure to break the skin, but enough to see the pigment make contact with the skin.

Step 3
Make your stroke into the skin with the pigment you have just dropped onto the skin. (Pro Tip: Make sure you see the ‘sweet spot’ and aim to land into the second layer of skin. See our blog post on the Sweet Spot Here.

If no pigment contact has been established, you are basically tattooing with a dry needle. You may notice ‘skips’ in your healed work or that the pigment “is not going into the skin”. That is because the pigment didn’t land properly on the skin in the first place. Remember this consistency is different, so requires a different approach to depositing than a thicker ink, which sticks to the end of the blade easily.
*Note: make sure that you are working very slowly and ensure every stroke counts. Attention to details like this will be the difference between stunning and average results!
Practice this technique on fake skin to really master the pigment drop, and ensure that you are working extremely precise when microblading. Once you feel you’ve gotten a hang of this - ensure you use this technique on your clients to ensure maximum results. Try this on your next client and watch your results shine! Please let us know if this tip helps.
See the video of Tina demonstrating this technique below:


2 comments
Thank you so much!
Chris
Thank you so much for your passion in sharing your knowledge!
Judy
Leave a comment
This site is protected by hCaptcha and the hCaptcha Privacy Policy and Terms of Service apply.