Properly cleanse your client's skin
When a client comes to your studio, she will more than likely be wearing makeup, especially if she has very little natural hair in her brows.
Before redrawing her brows and beginning the microblading procedure, you’ll want to have a look at the way that she fills in her eyebrows. This is a great gauge of the design of brow she is trying to achieve, as well as the style of eyebrows she is comfortable with. Obviously, some clients will not be good at designing in their own brows, so don’t try to mimic what they have drawn, just use this to get an idea.
After you've had a look and have a good idea of how they wear their eyebrows on a day-to-day basis, you will need to cleanse the area of any existing makeup. You’ll also need to make sure that the skin is free of any harmful bacteria, just like you would with any tattooing procedure.
Taking extra time to prep your client's skin will not only make it easier for you to work, but it will ensure your technique is flawless and produces crisp, lasting healed results.

For my procedures, I will usually pre-numb the skin for about 20 minutes.
Even before the client steps into the room, myself or my assistant will put a numbing cream on the client. I like to make sure that the client is REALLY numb so that the procedure will be as comfortable for them as possible. After about 20 minutes, I will take them into the room and get ready to cleanse the area.
Note: Don’t forget to apply numbing cream throughout the procedure as well so that you can ensure that your client remains nice and comfortable.
Watch the video of my prep:
Step-by-step
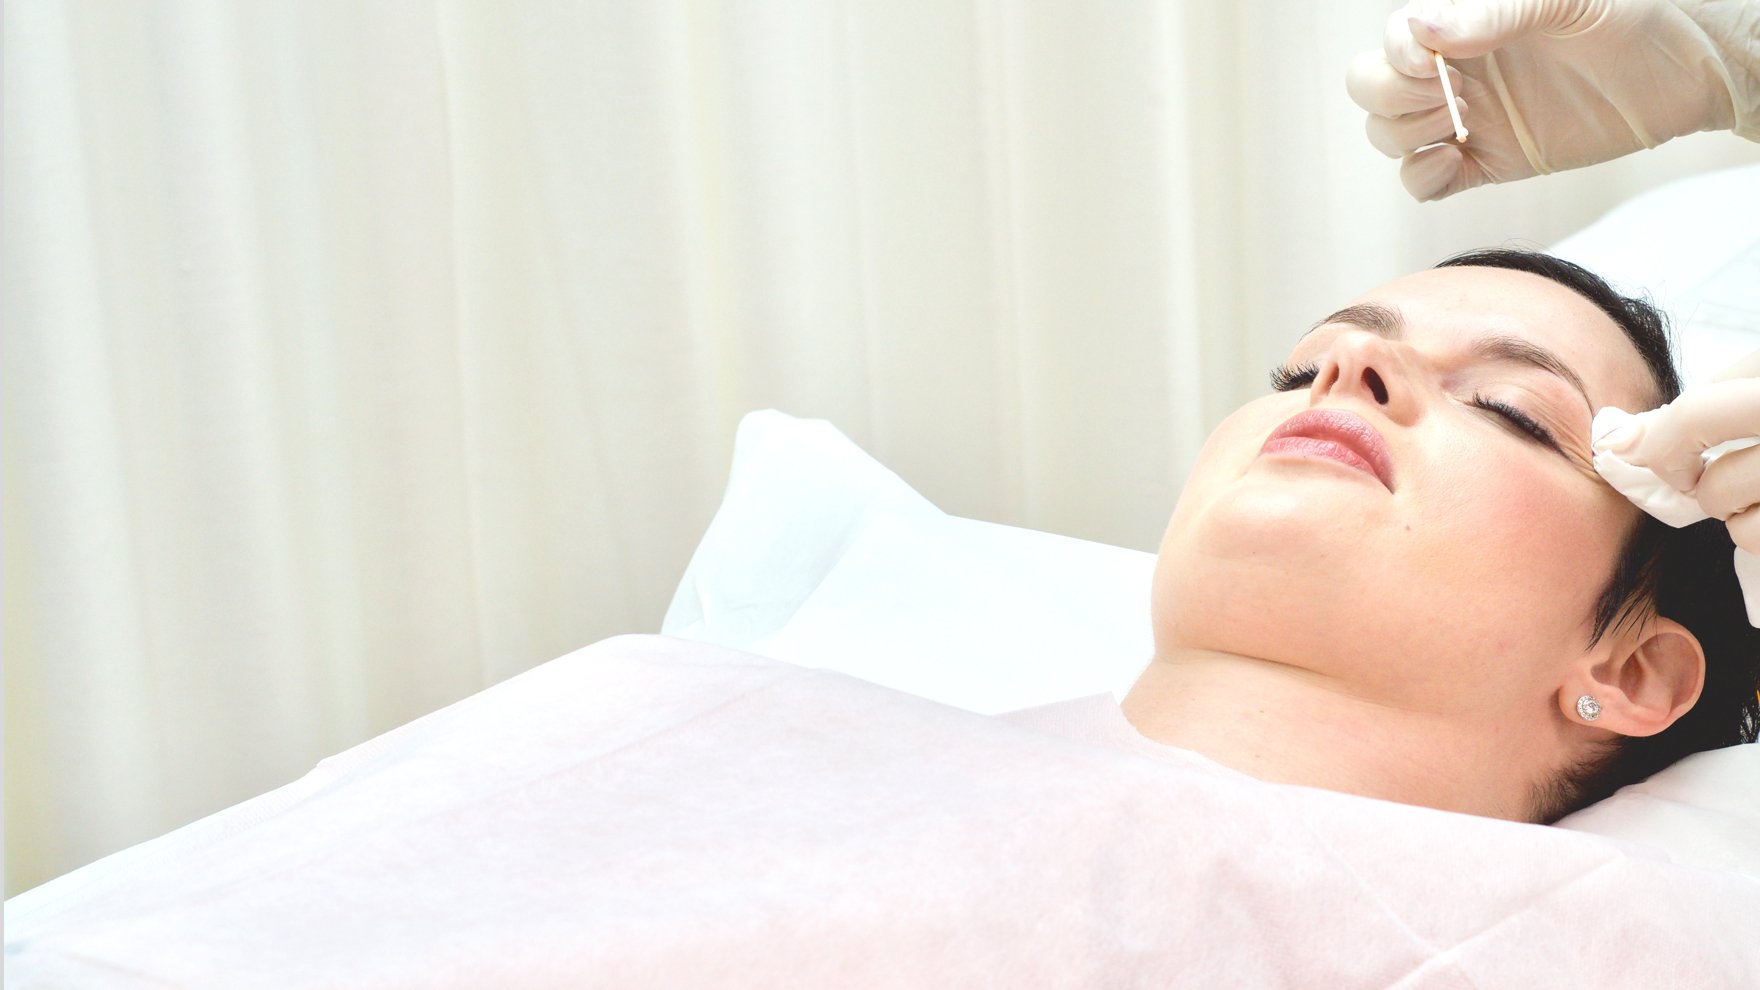
1. Use the stick part of q-tip to remove the anesthetic
2. Use a cotton pad to clean the entire area from the forehead to the brows with makeup remover. You’ll need at least a few passes with the cotton to ensure that all of the makeup is removed and the skin is clean. I also clean the eyelids to remove any slip because my fingers will be resting there, which again will affect my stretch and technique.
3. Next, use alcohol wipes to “de-grease” the skin, taking away the oils. Alcohol is medium grade disinfectant, so it disinfects as well.
I will clean the entire forehead and eyelid area to make sure there is no build-up of oil, moisturizer or makeup. Why is this important? Because there is a lot of oil and makeup in these areas and they create a slippery surface to work on and can affect your stretch if you have not properly cleaned it. That’s why this step is so crucial! Using an astringent such as an alcohol will get rid of anything remaining on the skin. This will make the skin tacky and very easy to work with.

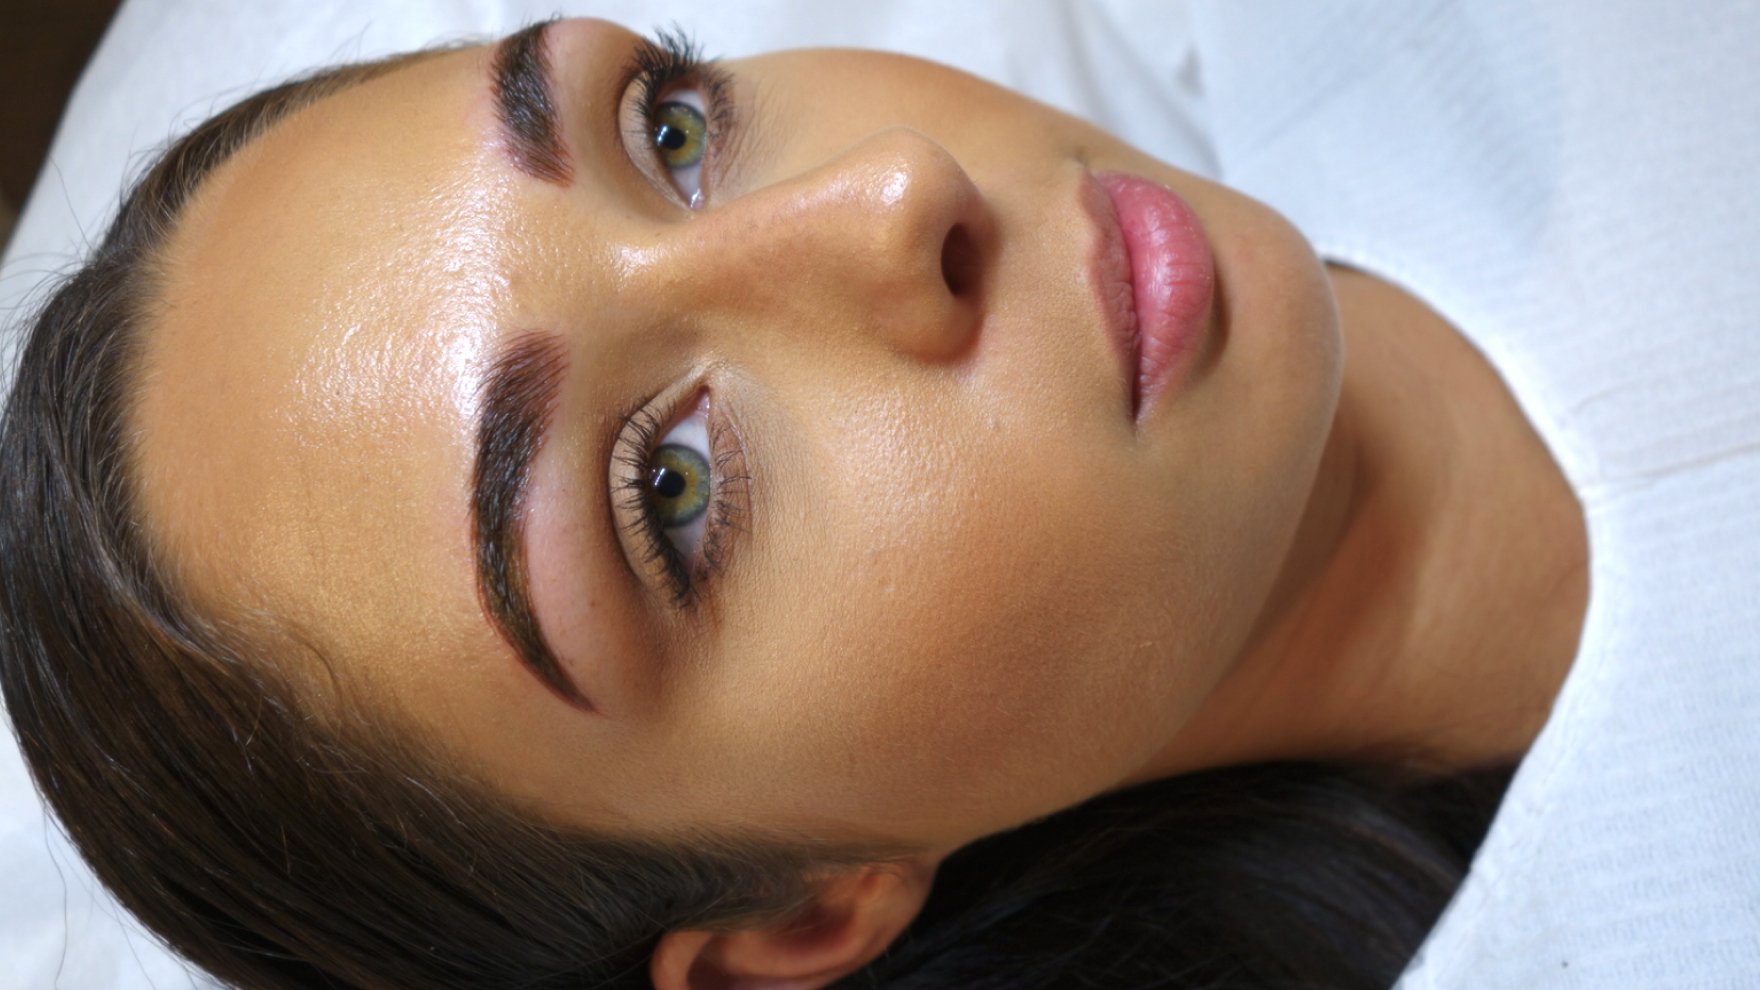
After that, you can do your pre-draw of the brows and continue with the rest of the procedure. When the area is nice and clean, you’ll find that it will be WAY easier to work on the skin, and will ultimately help improve your healed results. Clean skin is a happy skin!
Pro tip: When you've finished the procedure, cleanse the area again with non-scented, water-based makeup remover to take away any pigment stains and apply Tina Davies Aftercare to immediately soothe the skin and reduce healing time.

2 comments
Perfect example of how we can always learn something new..thank you for the extra tip regarding the use of makeup remover at the end of the procedure! I just recently began trying a new pigment line (new to me at least) & I love EVERYTHING about it so far except it’s very difficult to wipe clean at the end so I’m going to try this out! Just a little side note I ABSOLUTELY LOVE your healing gel & the little aftercare cards that are provided with each purchase!!! Thanks again!!
Vivian Garakani
Thank you for sharing info about PMU, microblading
Rasa
Leave a comment
This site is protected by hCaptcha and the hCaptcha Privacy Policy and Terms of Service apply.