5 Prep & pre-draw steps
 Prepping a client properly before a permanent makeup procedure and perfecting your pre-draw design are two very important factors when it comes to creating a positive client experience. Not only do you want to keep your client calm and comfortable during the procedure, but you also want them to feel confident in the look of their brows before you make them permanent! Click here to read Tina’s Top 6 Tips to Delight Clients
Below, I've outlined some of the steps that I take during all of my client appointments regardless of whether I'm welcoming a new client or performing a touch-up. No matter what the procedure, my #1 priority as always, is making sure my clients feel safe and happy throughout the entire process. While microblading is the star of the show, taking the time to master your pre-draw skills will have you creating beautiful eyebrows that your clients will absolutely LOVE!
Step 1: Numb Your Client

When your client arrives, take the time to answer any questions or concerns they may have right off the bat. Next, you can apply a topical numbing cream, such as IceCream™, that will sit for about 20 minutes. While your client is numbing, you can discuss their preferred eyebrow style, review your portfolio, browse through any of their brow inspiration pics and review their intake/consent form. This is a great opportunity to listen carefully to their desires and pay attention to their facial expressions in order to craft eyebrows that will brighten their eyes and really light up their face.
Pro Tip: Simplify your numbing process by utilizing a 2-in-1 numbing product like IceCream™ for both primary and secondary numbing.
Click here to learn more about IceCream™ Topical Anesthetic
Click here for more information on what to include in your consent forms
Step 2: Prep Your Pencil
Whether you use a pencil, marker or other drawing tools to map out your design, always make sure everything is completely clean and sanitized by cleaning it with a 70% alcohol sanitizer. I prefer to use a tool with a very fine tip that allows me to draw realistic, hair-like strokes, like our new Pro Silk Pencil. Prepping the pencil does take a little extra time and patience but it will create a clear guide for my microblading strokes.
If you are using a pencil similar to the Pro Silk Pencil, you can sharpen it with an X-ACTO Knife (found at any craft supply store or on Amazon) to gently plane the lead down to a fine point in the shape of a duckbill. Once you have carved it down to a fine edge, you can smooth the corners by gently "filing down" the corners on a piece of paper.

Watch Tina Sharpening the Pro Silk Pencil
If you are using our Skinny Silk Pencil, simply twist the lead up about 1mm and run it over a piece of paper to flatten the end. Then you can use the edge of the flattened end to draw crisp, precise strokes.

Step 3: Prep the Procedure Area

After the client has numbed for the suggested 20 minutes, wipe away the topical anesthetic and clean the area to prep the skin for the pre-draw. In addition, you will want to ensure that the area is clean and dry before beginning to draw your design, so use makeup remover to clean off all oil and makeup. Next, you will want to clean the skin with an alcohol wipe or other astringent such as witch hazel to ensure the area is clean and free of oils. This step will ensure that your pencil glides smoothly onto the skin without smudging.
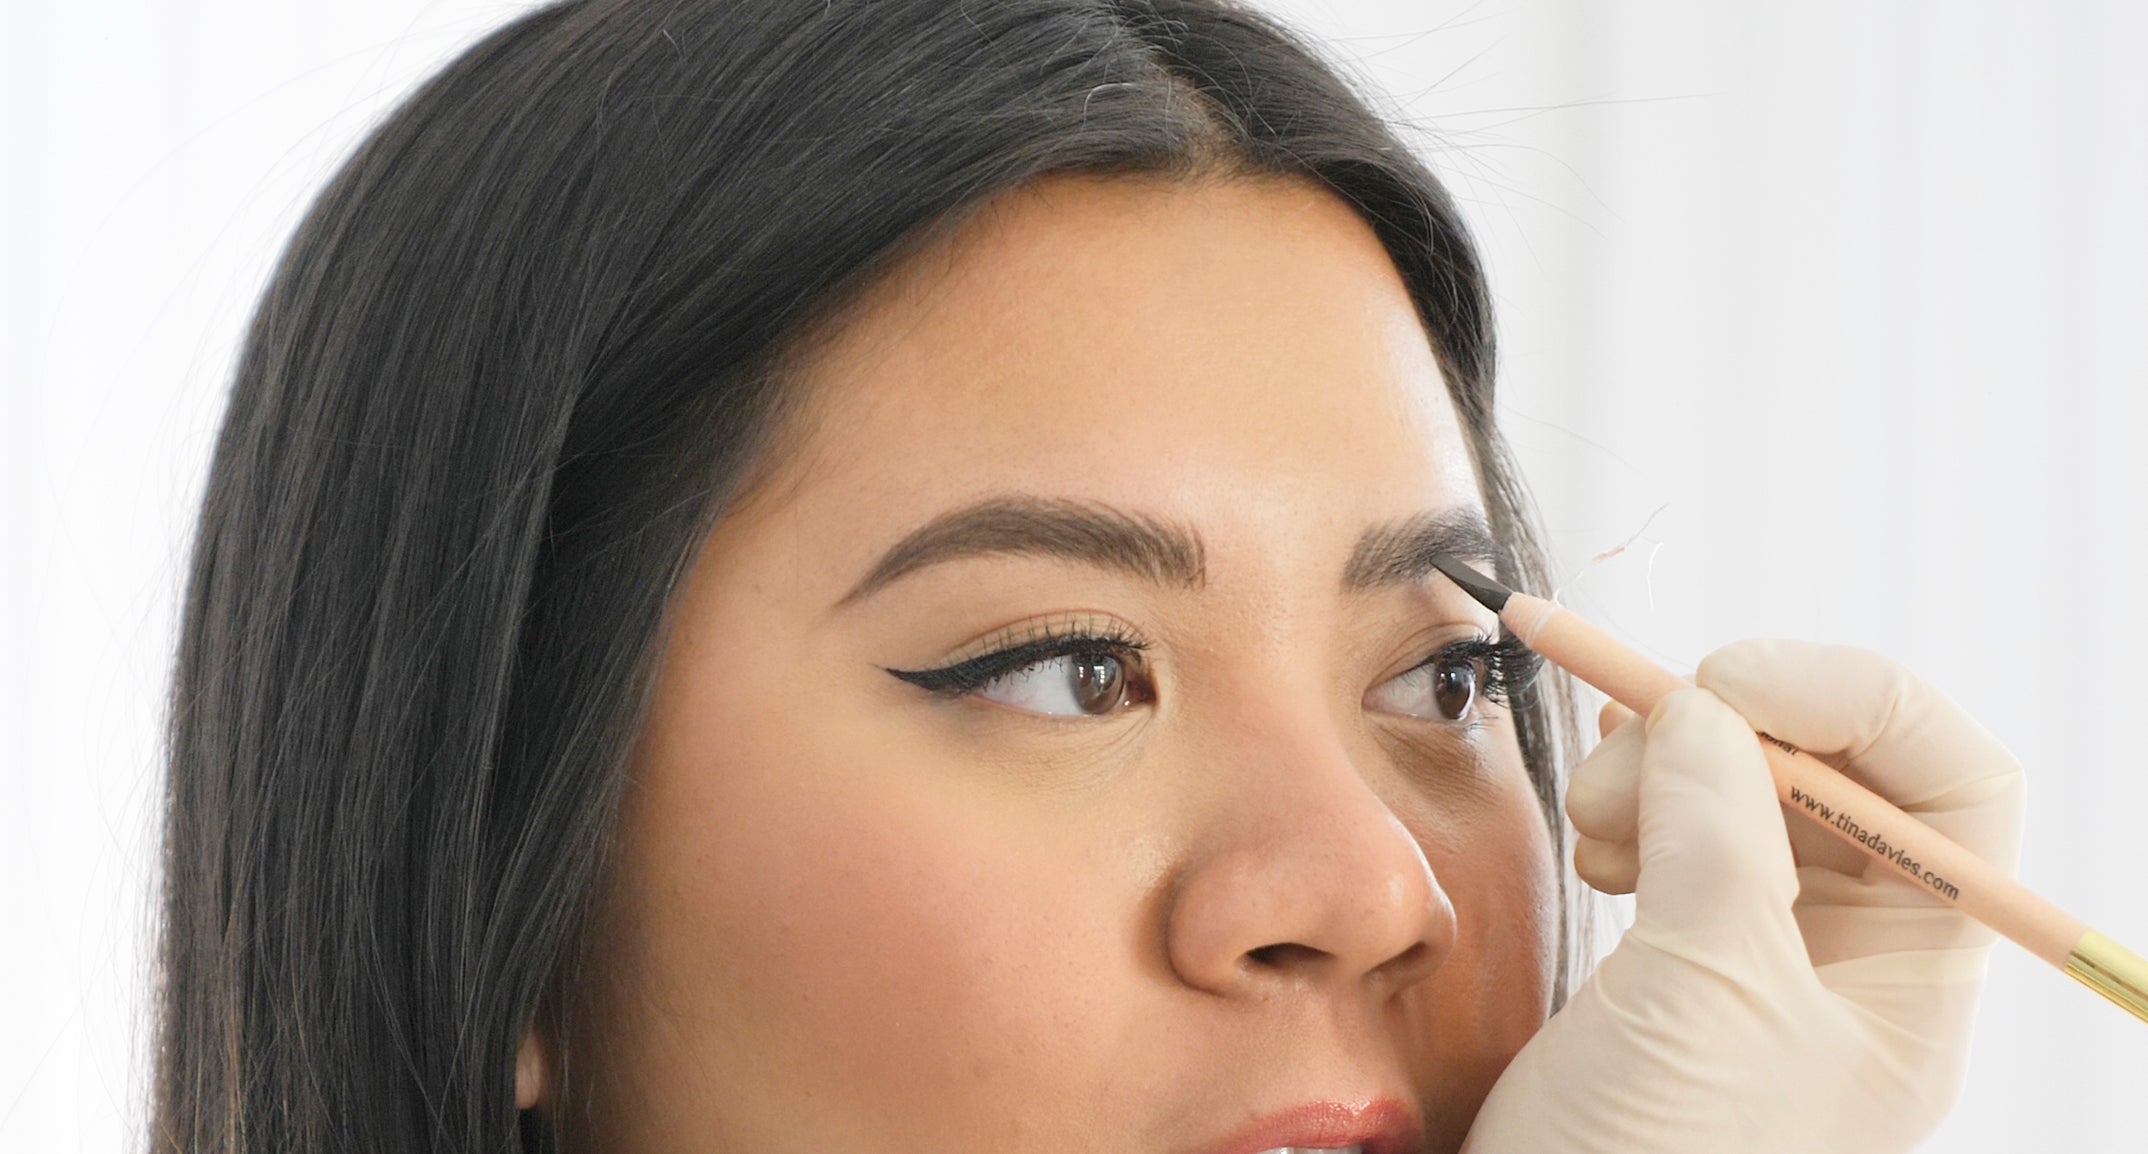
Step 4: Draw
Grab your favorite tool to draw in your eyebrow hair strokes! Every artist has their own signature pre-draw technique, so it is important to find the way that works best for you. My preferred method is to design for impact first, symmetry second. I use a freehand approach and sketch out each eyebrow hair stroke then match the eyebrows up to what looks flattering on the client as opposed to measuring out exactly symmetrical eyebrows. I find that most people have varied contours and bone structures on each side of their face so trying to achieve perfect symmetry can be challenging. Often times when artists use measurement tools, the results still end up looking uneven. My goal is to find harmony and balance between my eyebrow design and the client's face.
Read the case study: brow mapping eyebrow axis imbalance
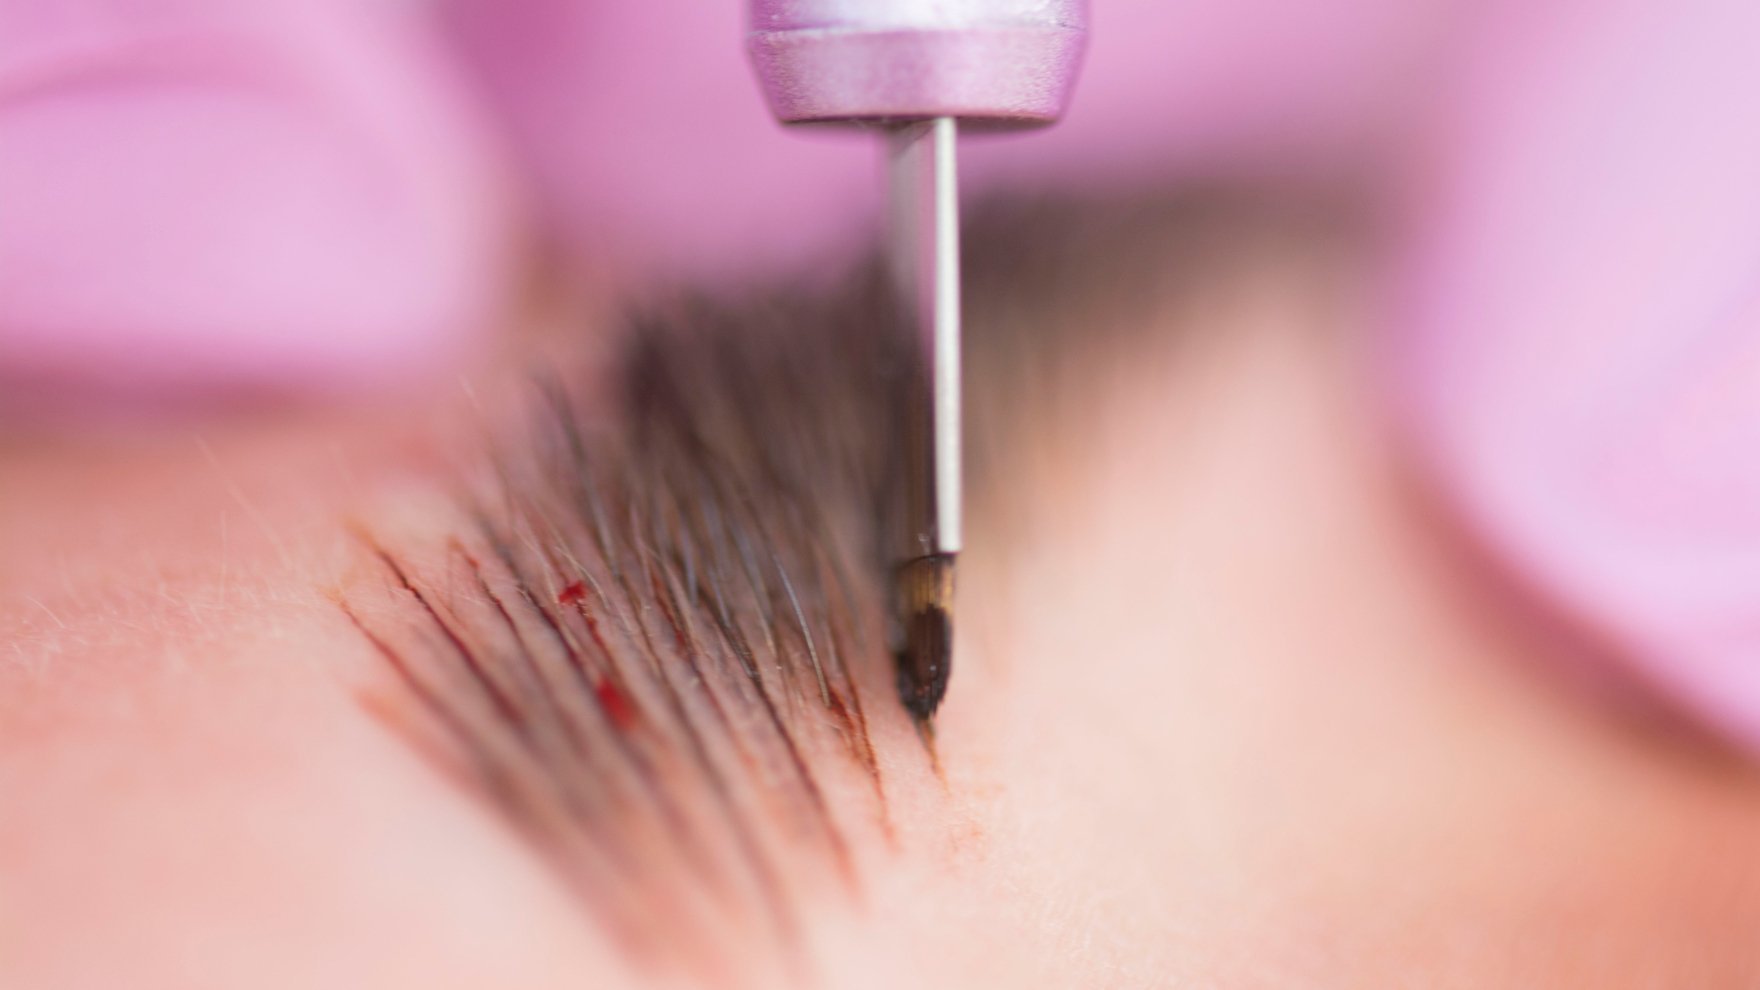
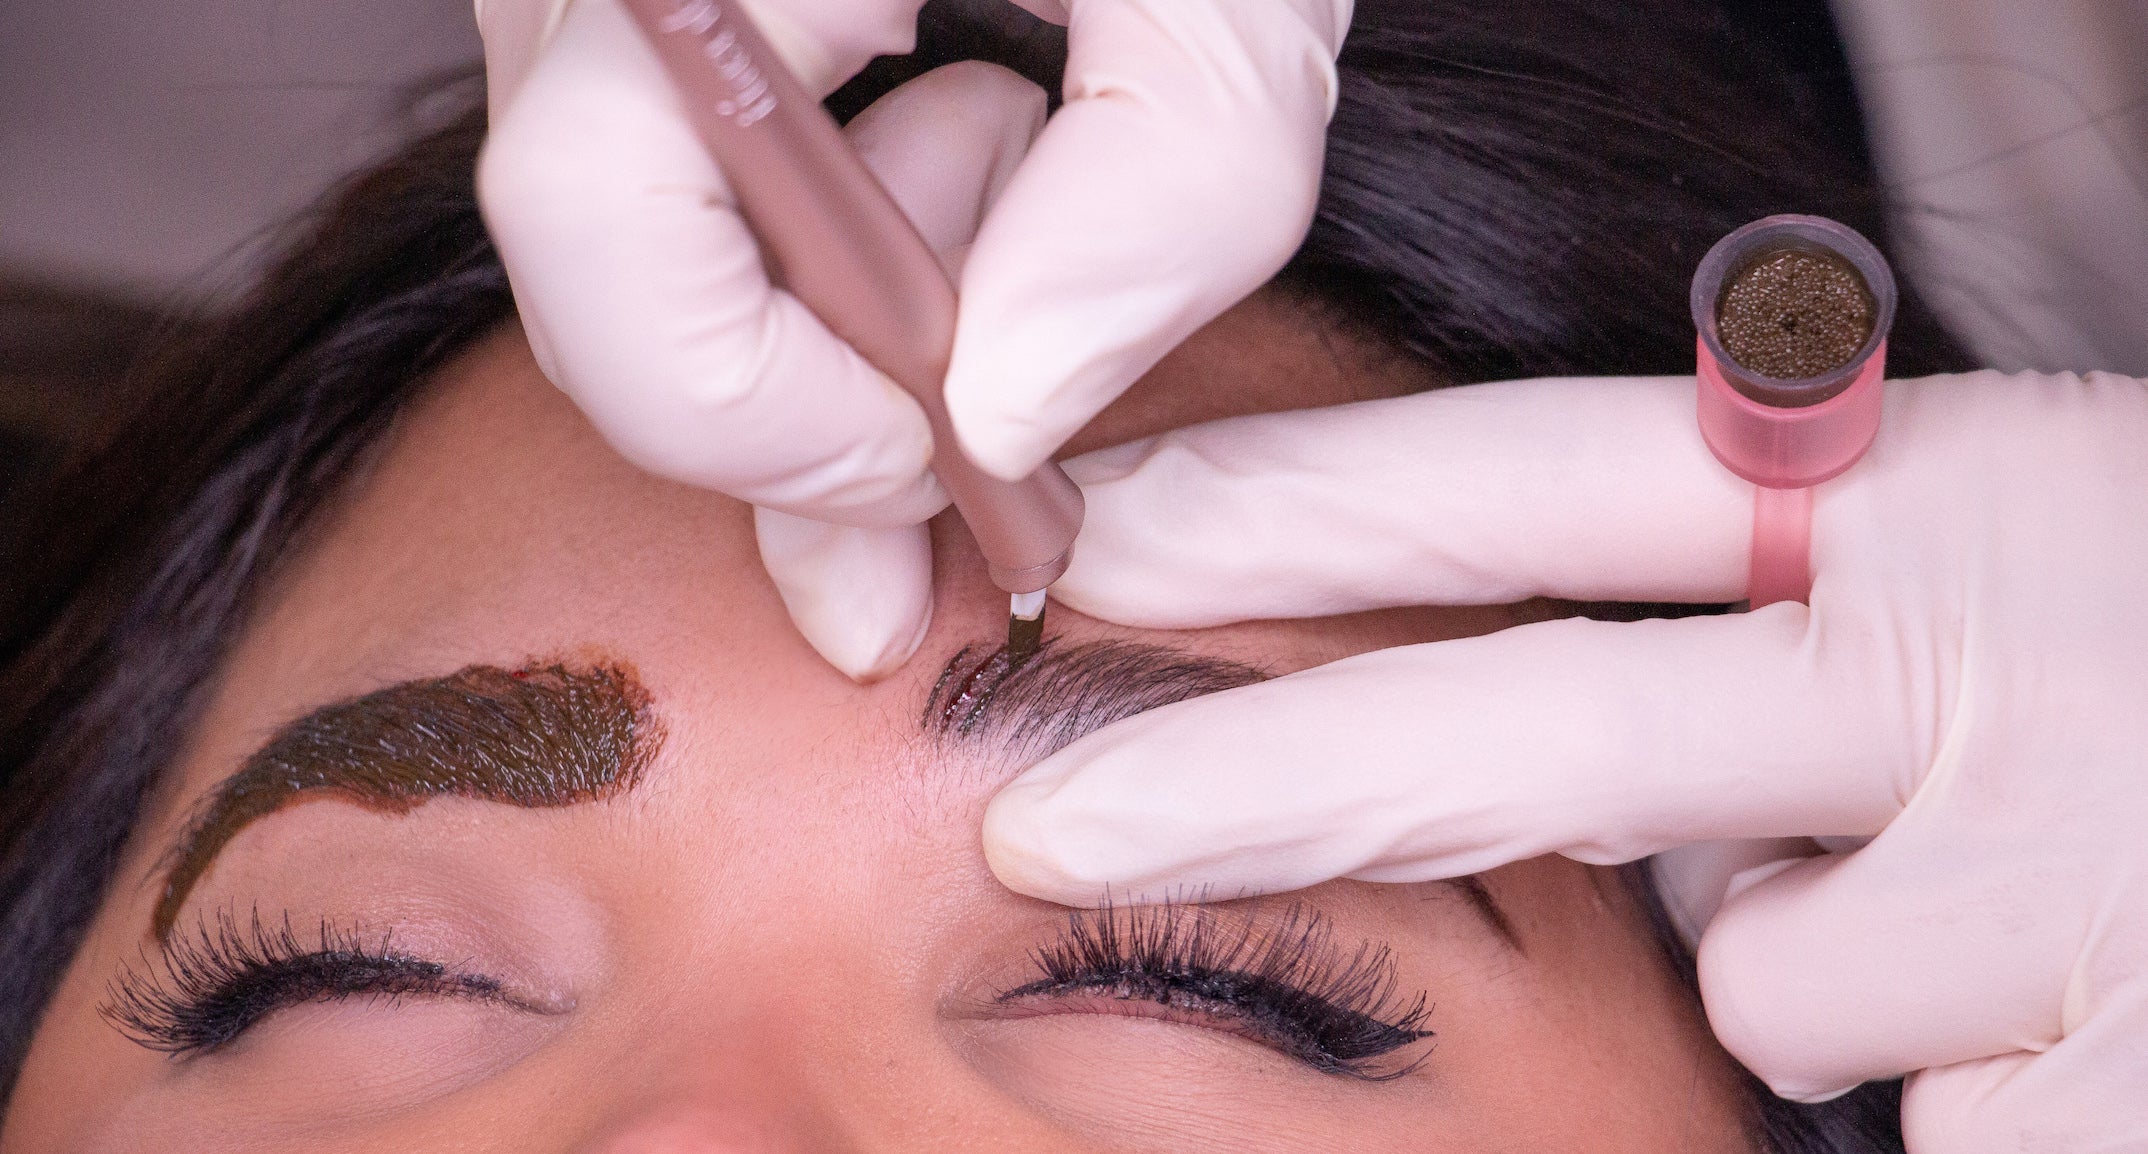
Step 5: Begin you Procedure

Once you have consulted with your client, designed their brows, and made absolutely sure that they were in LOVE with the final result, it's time to make them permanent! As of right now, there is no drawing tool that will stay in place on the skin throughout an entire procedure, but a precise pre-draw it will make your life SO much easier while completing your first pass. When completing your skeleton pace, ensure you trace your design so that when you wipe, your outline is not erased. Just be careful not to smudge your design away as you make your first pass.
So if you're looking to level up your pre-draw game, we definitely recommend trying out a few of our new pencils! Our pre-draw tools are designed to add convenience and ease of use to your prep and pre-draw routine. Plus, they come in packs of three or singles.
Shop Pre-Draw Pencils


Brow Mapping Online Course
Take the course

Leave a comment
This site is protected by hCaptcha and the hCaptcha Privacy Policy and Terms of Service apply.