Case Study: Achieving Maximum Lip Color Retention
Envy Healed Lips

Before and healed, 1st session
Lip blushing procedures are growing in popularity, artists are eager to learn this technique, and clients are requesting this procedure more and more each day. Lip blush will enhance your natural lip color and can create the look of fuller lips. The color choices are endless as well and can range from a natural pink blushed look to a full lipstick look to the trendy ombré lip.
However, lips are not always an easy task, and retention is something many artists of all skill levels struggle with. This is because the skin on the lips are thin, thus has less ability to deposit and retain pigment. It can often take artists multiple sessions to build the color up in order to achieve the desired results. Using the right techniques, pigments and needle selection is the key to retention of color. Understanding how each of these will affect your outcome and how you can choose the right technique, pigment and needle will allow you to get maximum retention in just one procedure.
In this case study, Paula Fitzpatrick, an extremely talented PMU expert & trainer located in the UK, shows how she was able to get 95% retention on her client after just ONE procedure using the Tina Davies Lust & Envy Lip pigments.
Client Goal
 Before
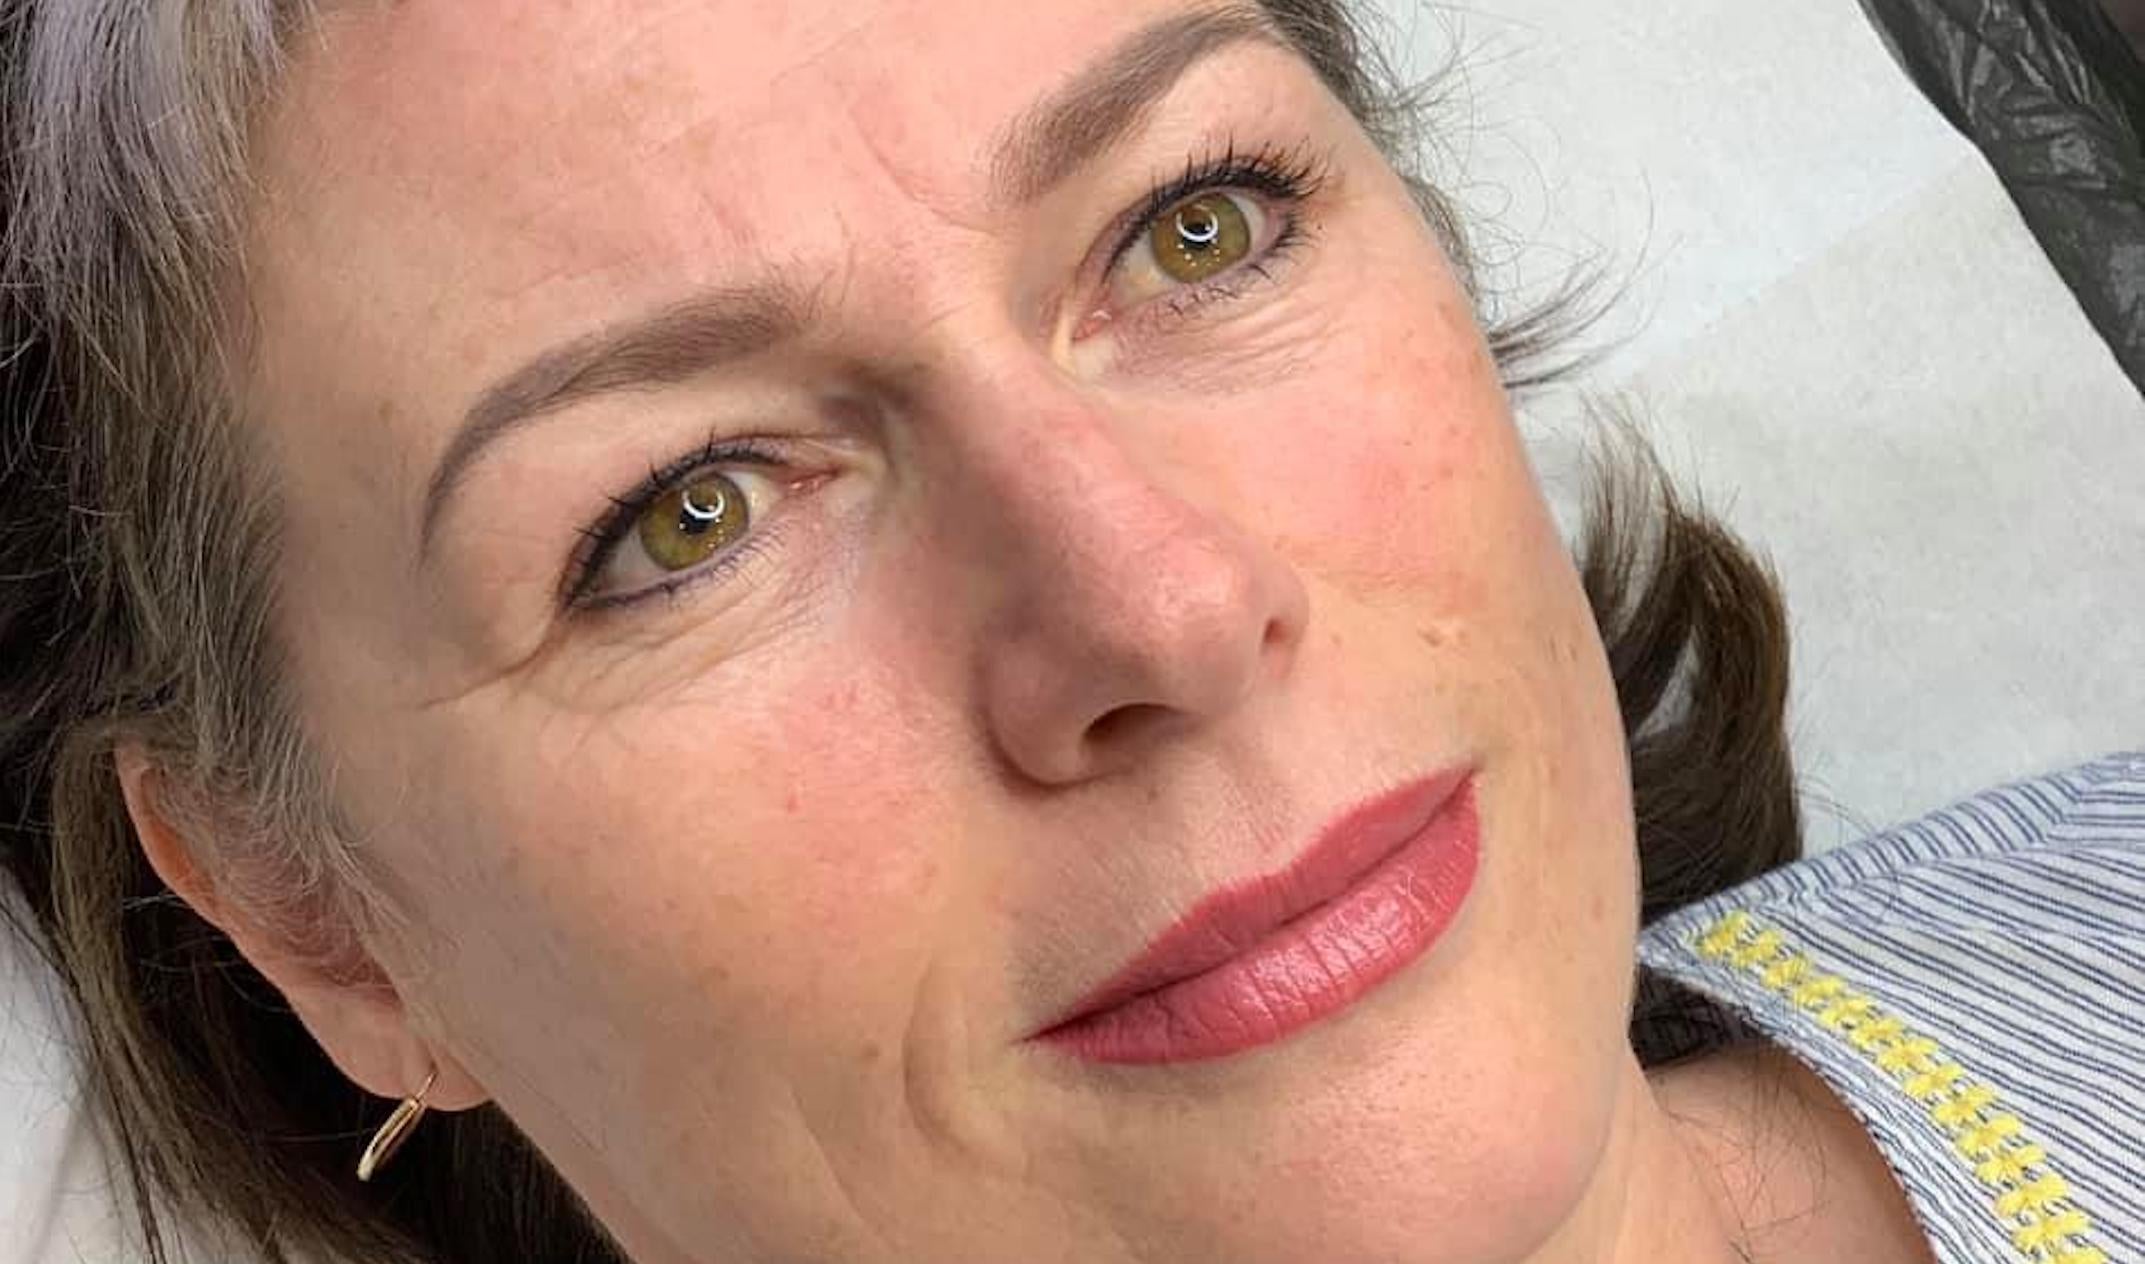
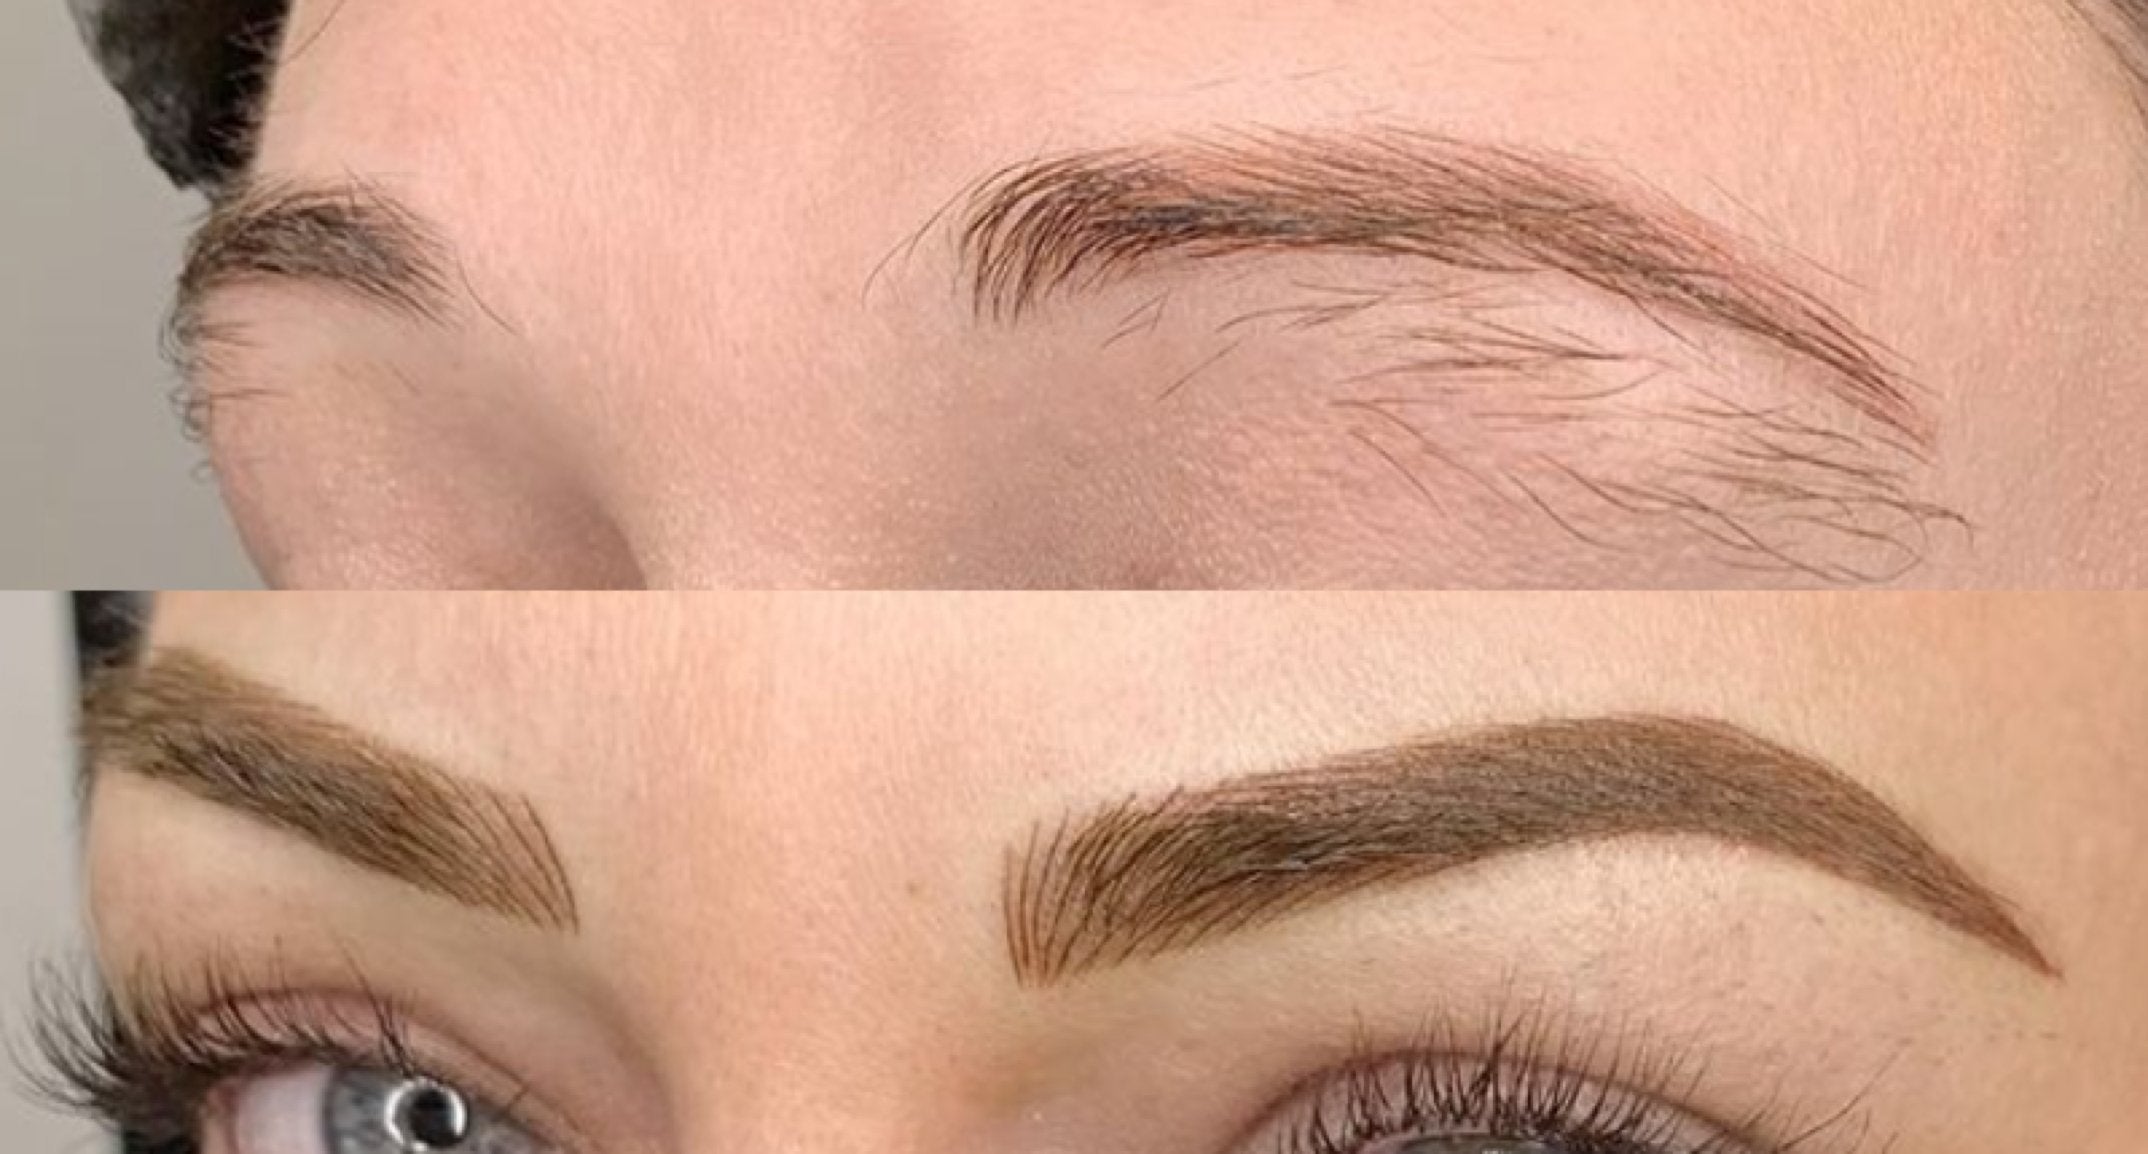
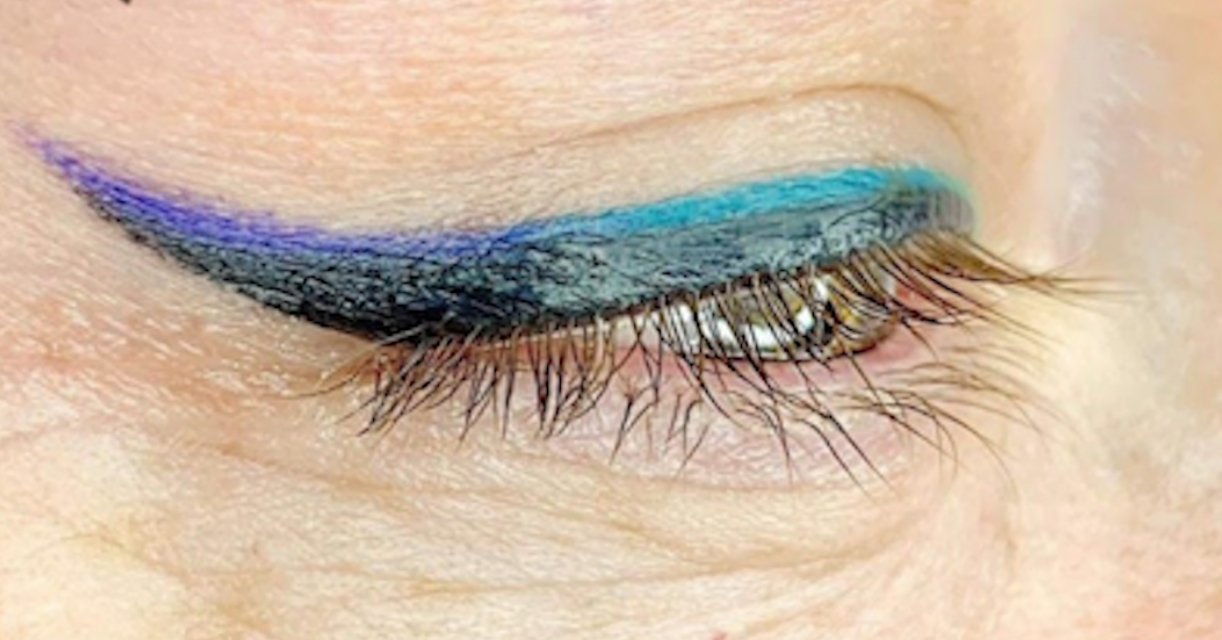
My client is one of my regulars, I’ve previously done her eyebrows and also a lash line enhancement, so now it was time for the lips. She absolutely LOVED how much time she had saved during her morning routine with her brows and eyes, that she wanted to get her lips done to complete the look! #Iwokeuplikethis
She brought in her favorite lipstick that she wears on a day to day basis so that we would be able to match the lip pigment to this shade. The lipstick was a beautiful opaque medium pink color. Since she was used to wearing opaque lipstick on a daily basis, this is the outcome that I would be trying to achieve.
Pro Tip: Ask your clients to bring in the lipstick/gloss they like to wear, this way you know what colors they feel comfortable wearing and can match your pigments more easily.
Client Skin Type
My client has a normal skin type, with no sensitivities. Her lips were evenly proportioned with a nice neutral color, this made choosing a color easier as I did not have to watch for any additional coolness.
Design Approach
Since her lips were nice and evenly proportioned, I would just need to follow her natural shape to enhance. In order to find the perfect pigment color to match her everyday lipstick, I started by looking for the undertones in her lipstick. I applied her lipstick to part of her lip to determine the nearest color match. Based on this, I knew I would need to mix two colors in order to match this tone, a mix of Tina Davies Envy Magenta and Tina Davies Envy Dusty Pink would give me that medium pink color she was looking for. We decided on a mix ratio of 50:50.
Pro Tip: Take color swatches of your pigments, and create drawdowns so that you understand the masstone and undertones of your pigments to allow you to make the most informed decision for your client.

Shop Tina Davies Envy Magenta & Dusty Pink Lip Pigment
Technique(s) Required
In order to get the best healed results and retention, creating the least amount of trauma to the lip skin is extremely important. For lip blushing procedures, I always use a 1RL needle (on occasion, I will use a 3RL to complete shading) and a whip shading technique, lightly whipping towards myself in one direction and slowly building the color up overlapping sections to create a nice and even color. Once the shading is saturated in that section, I will move onto the next section.
This is the technique that I use for all of my lip procedures. I’ve tried and tested it so many times that I know I will get little to no swelling, great retention, and consistently evenly healed color with minimal touch-ups.
Pro Tip: Find a technique that works and don’t stray from it. Enjoy it! Lips are by far my most favorite treatment to do!
Prep and Pre-Draw

Beginning of pre-draw, determining where my main points are
For the pre-draw I will use a lip pencil to do the outline or a red gel pen, depending on the client's lips. For this client, I started by using a red gel pen to map out the key points of the lip, such as the cupid’s bow. Once the shape is perfected and the pre-draw is complete, I use a fine brush with concealer to outline the template and set it with rice powder to avoid smudging.
Pro Tip: Perfect your pre-draw. Don’t rush and just take your time to get your pre-draw template down, as your end results are only as good as your drawings.
Once my pre-draw template is completed and the client is happy, I then apply the numbing cream. Once numbing time has completed, I take a clean tissue and gently blot the numbing cream away from the lips, ensuring not to wipe my pre-draw.
Plan of Action
Starting with the bottom lip I begin by etching the outline using the pigment mixture of 50:50 Envy Magenta and Envy Dusty Pink, always making sure to work towards myself. By working this way I am able to see my needle clearly, which is very important especially for the outline, as this requires precision. I make sure to work directly between the line of pencil and concealer, never going outside the border. Once the bottom lip is completed, I will begin at the opposite side of the top lip and continue working towards myself very slowly, etching the outline as I go.
Once the upper and lower lip outline is completed, I begin lightly whip shading to fill the lip, completing overlapping sections to ensure an even color placement. Once I’m happy with the saturation, I move on to the next section. I always ensure I have a great 3-point stretch.
Now that the skin is open, I will use my secondary numbing, Ultra Duration, which includes epinephrine, but try to limit the amount of secondary numbing used throughout the procedure as this can alter the skin texture. I completed 2 full passes of shading with a final perfecting pass to ensure the color is deposited evenly and focus on any finishing touches on the last pass.
By using this technique, my clients usually get little to no swelling, great retention, consistently even heals and minimal touch ups. By creating the least amount of trauma to the lips you will get better healed results with better pigment retention.
Pro Tip: If your client is experiencing swelling, which can often happen to clients with lip fillers, place a ziplock bag with ice over the lips to help reduce the swelling.
For aftercare, I instruct my clients to gently blot the lips with a wet cotton round every hour for the first few hours after the procedure. I provide a sachet of Hustle Butter to be applied to the lips when needed as many times a day as they feel the need. My lip procedure usually takes around 3-4 days to be fully peeled, healed and beautiful!
 Immediately after 1st session
Healed

Healed after 1st procedure & before touch-up
My client came back with 95% retention after the first procedure, which is due to a combination of my techniques, needle choice and my fabulous products, the highly concentrated Envy Lip Pigments. Upon touch-up, I only needed to do a 5 minute touch-up procedure to adjust any areas that did not take as well.

Immediately after touch-up
Procedure Notes
Age: 54Fitzpatrick: 2/3
Skin type: Normal skin type
Color: Tina Davies x Perma Blend Envy Magenta & Tina Davies x Perma Blend Envy Dusty Pink Lip Pigments
Method: Etched outline and whip shading to fill
Needle: Kwadron 1RL .25mm
Artist: Paula Fitzpatrick
8 comments
Amazing
Fatima
I have been doing PMU for 22 years and used the same ink from a reputable company. I wanted to see if there was anything better out there so after researching I decided to give Tina Davies a try. I was so excited from the first pass I made on lips and brows! I can not believe the quality of this pigment! It implants so easily and beautifully with so much more color than anything I have ever used!!!!
Tina Mattern
Loved this , so knowledgeable I cannot express how much I love PMU lips it’s literally my favorite procedure, I’ve done 6 procedures and have many more booked thank you for this step by step very detailed I aspire to be great at this craft as it’s my passion #cosmetictattooartist 🖤
Sarah Collelo
Great Expert Info
Would be Great to also know the length of time it took to complete this procedure from start to finish.
Thanks
Kimberly Price
I am not familiar with the whipping technique. Lips turned out beautiful.
MIDDY CHURCH
Helpful information
I will get my clients to bring their favourite lip colour in with them . Saves a lot of time trying to work out the colour they want and also follow your advice for the retention factor.
Thank you
Roseanne x
Roseanne Ranieri
Beautiful ,Great job love the color.
Sylvia Aleman
Beautiful
Jahaira Guevara
Leave a comment
This site is protected by hCaptcha and the hCaptcha Privacy Policy and Terms of Service apply.